James Tiffany
Monday, January 12, 2026 | 10 minutes
VMware vSphere Foundation (VVF) 9.0 Greenfield Deployment
Welcome back, In the previous article I covered setting up the nested hosts to prepare for the green field deployment of VMware vSphere Foundation 9.0. This blog will cover the deployment using the VCF Installer appliance.
Update - At this point I will not be covering the deployment of the VCF Installer appliance or the setting up of the repository depot. I will update this article at a later date to include these. As this lab environment is already running VCF I piggy backed onto the existing depot as I was short on time. There are a large number of blogs out there already that cover the VCF Installer deployment. The same appliance is used for VCF and VVF deployments so you could use one of those until I have time to update. You can also host the files on the installer itself if you did not want to create the depot - Using the VMware Download Tool. I wont be able to cover this configuration as I don’t have access to tokens to enable the download.
As of the time of writing the latest version of VVF is 9.0.1, we will be deploying 9.0 to then allow for an article on how to upgrade a VVF environment that will follow.
As mentioned in the previous blog post, you must have DNS and NTP configured and working before starting the deployment. DNS must be in lower case and be resolvable in forward and reverse lookup. NTP must be available and working on the ESX hosts and VCF Installer.
When you go to the Broadcom support portal to locate the VCF Installer for the next steps, please note that it is a bit confusing as the appliance is called the SDDC Manager in the download section. This is partly because if you were doing a Brownfield converge of an existing environment to become a new VCF environment, or were deploying the VCF Installer to one of the hosts in a greenfield deployment the process has the ability to convert the installer to become an SDDC Manager. For this deployment this wont be the case. Always choose the latest installer version, you will be able to deploy earlier vSphere versions if you want to from this but the latest installer would include all bug fixes that could impact the deployment.
VCF Installer Deployment
In the lab I have deployed the installer to the physical ESXi (Still running vSphere 8 so not a typo) host so it is outside of the nested environment.
When deploying the VCF Installer it is important to make sure that the settings on the appliance are pointing to the same DNS and NTP servers as the ESX hosts. If not you will receive warnings and possible errors in the VVF validation workflows. Some of these can be ignored but some will cause a failure and might require you to deploy the appliance again. Ensure you note down all the passwords as these will be required during the deployment process.
The OVF deployment process will complete and then you will need to power on the appliance. Let it run through the process and you will see on the remote console that the appliance will reboot a couple of times and finally be at the screen showing it is configured with all the correct IP details. You are then ready to move to the next stage.
VVF Deployment
Now we are at the exciting point, its deployment time.
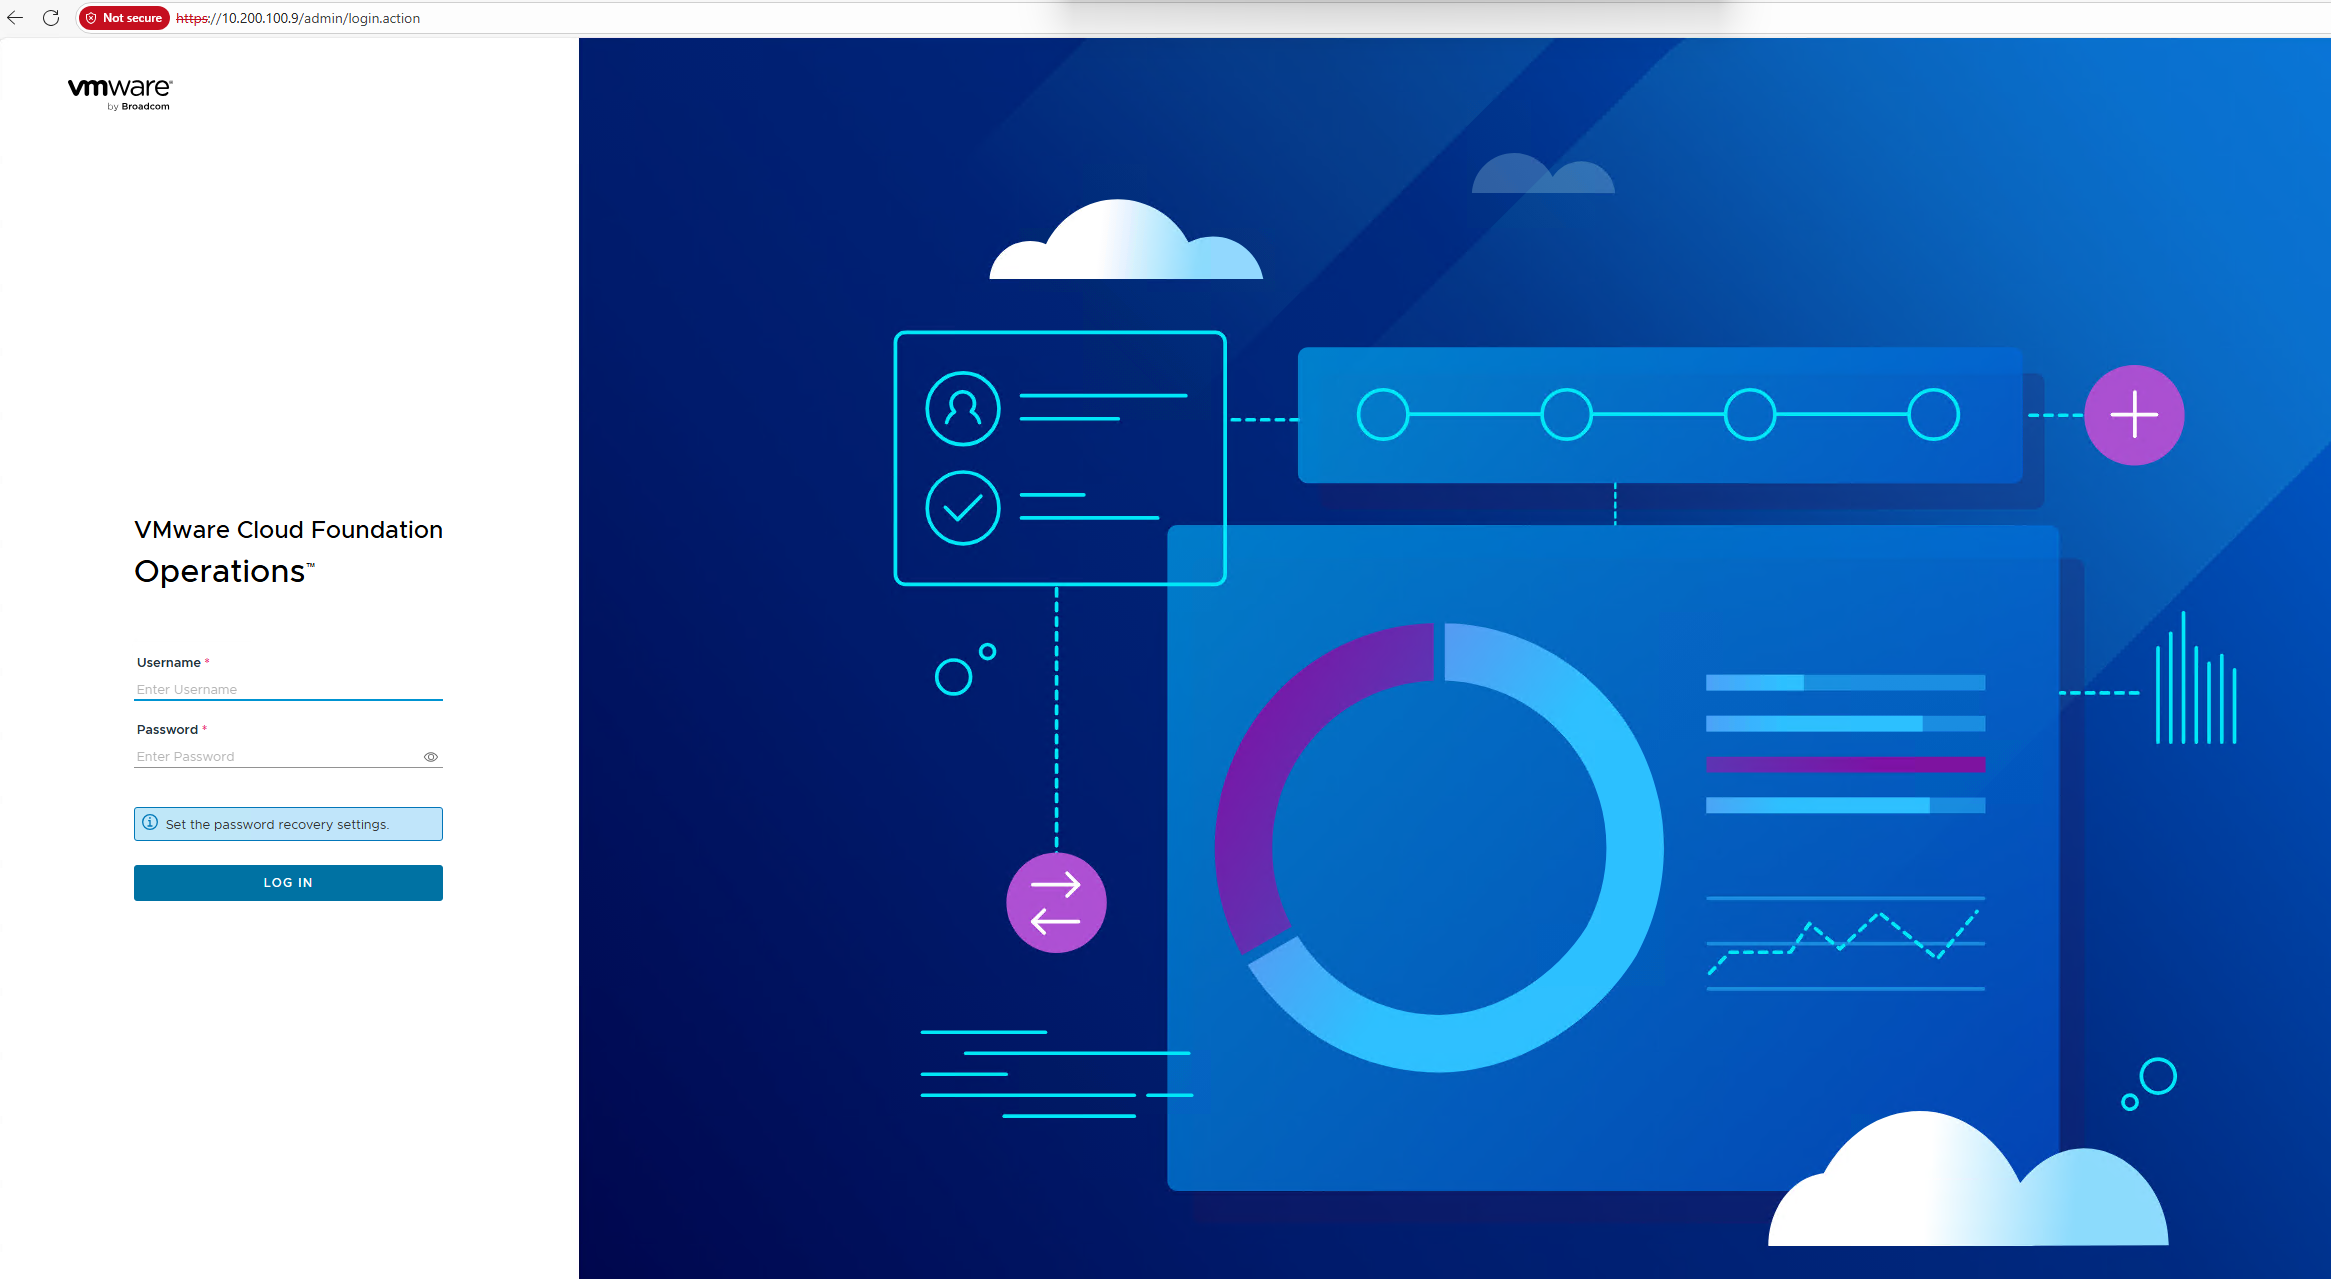
Open a browser and navigate to the VCF Installer IP Address. Log on using the Admin account and password noted during the OVA deployment
You will be greeted with
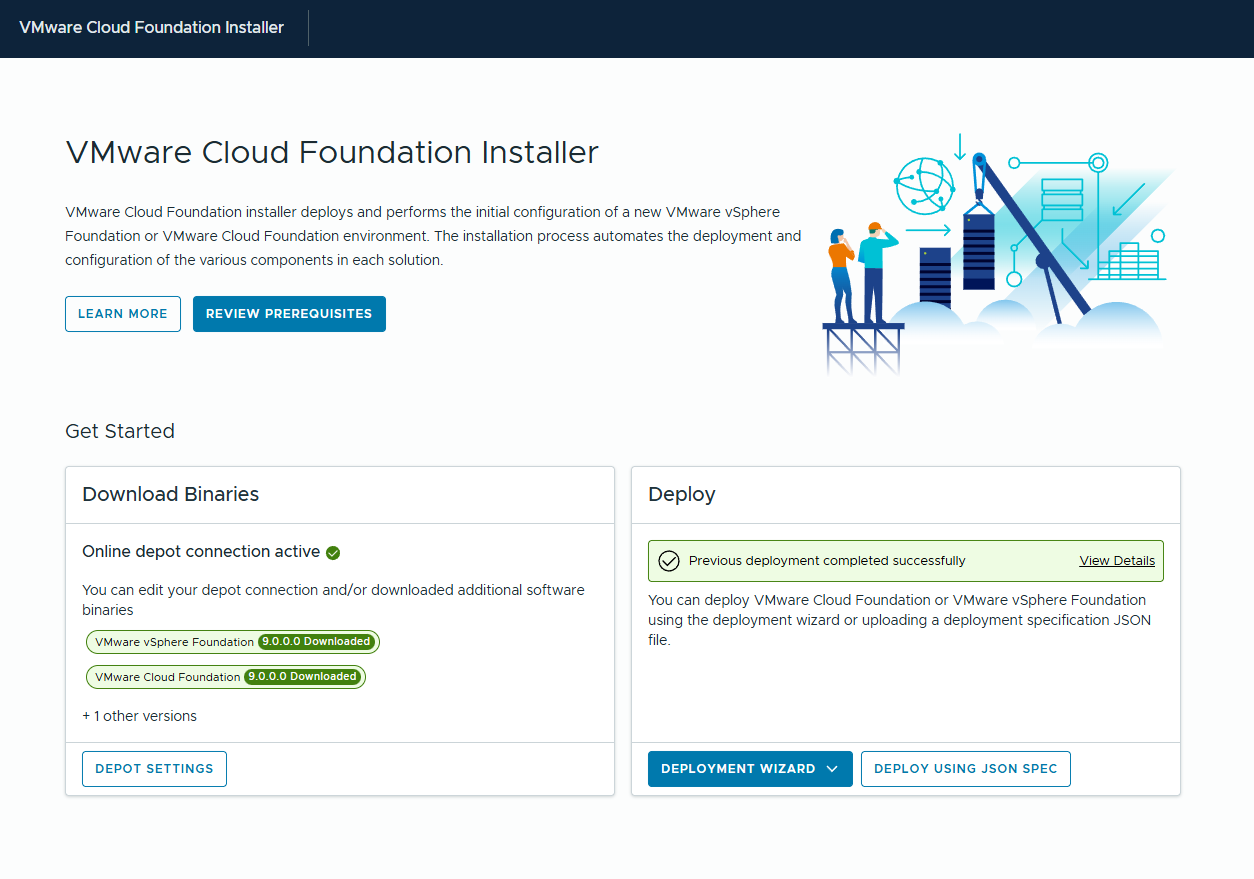
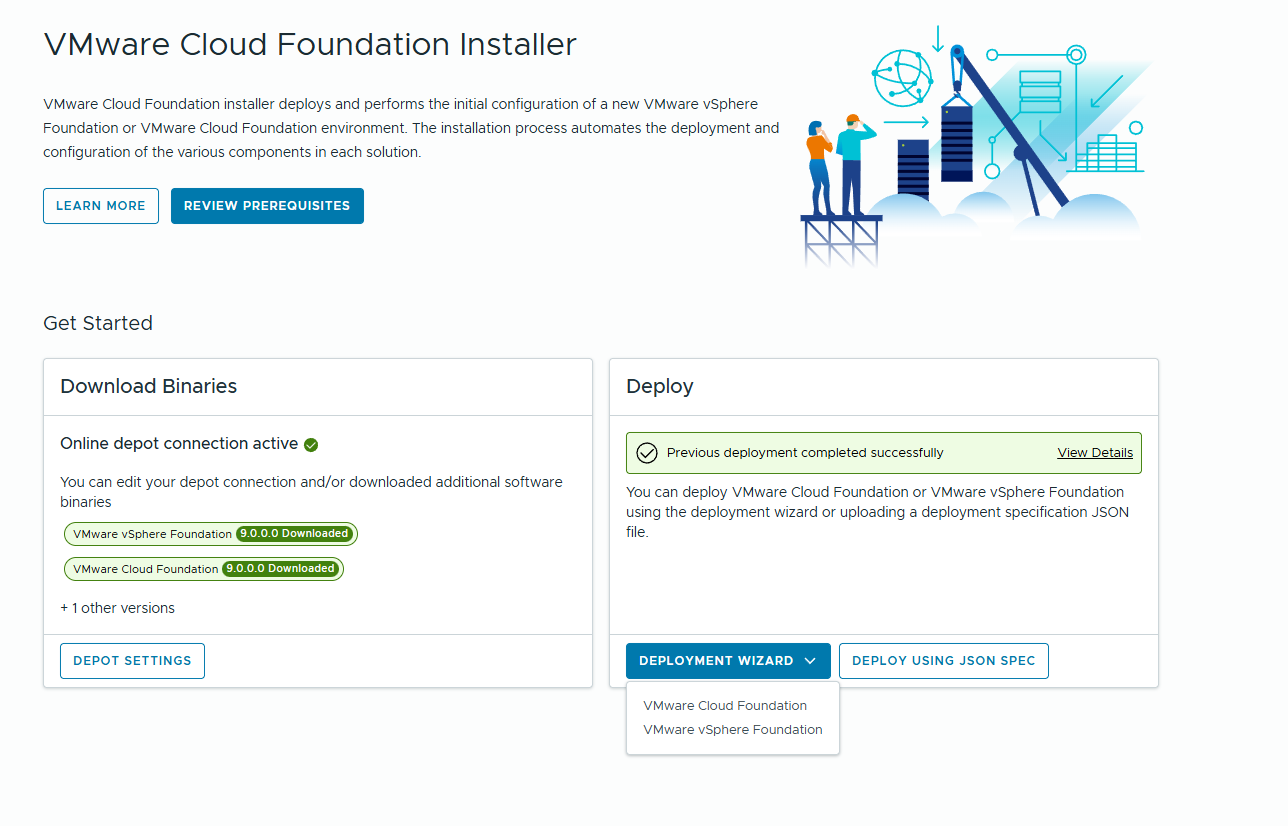
As mentioned in this example the Binary Depot is already configured ( I will update the blog at a later date to include the depot and connecting it to the Installer) Click On the Deployment Wizard and from the drop down menu choose VMware vSphere Foundation
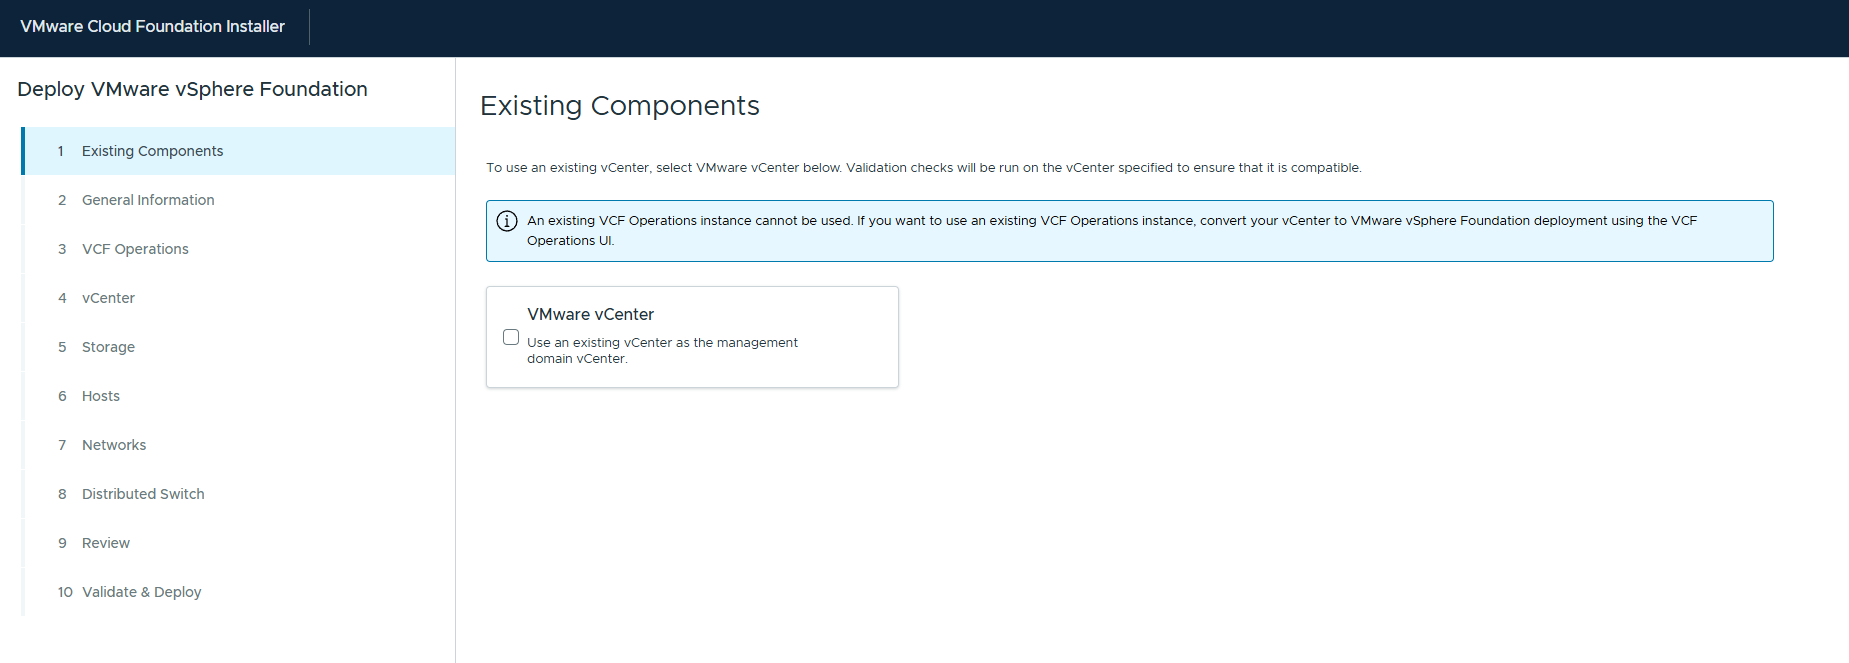
This will launch the Deployment Wizard. The first option gives you the option of using an existing vCenter or deploying a new one. As we are doing a Greenfield deployment we will be deploying a new one so click Next
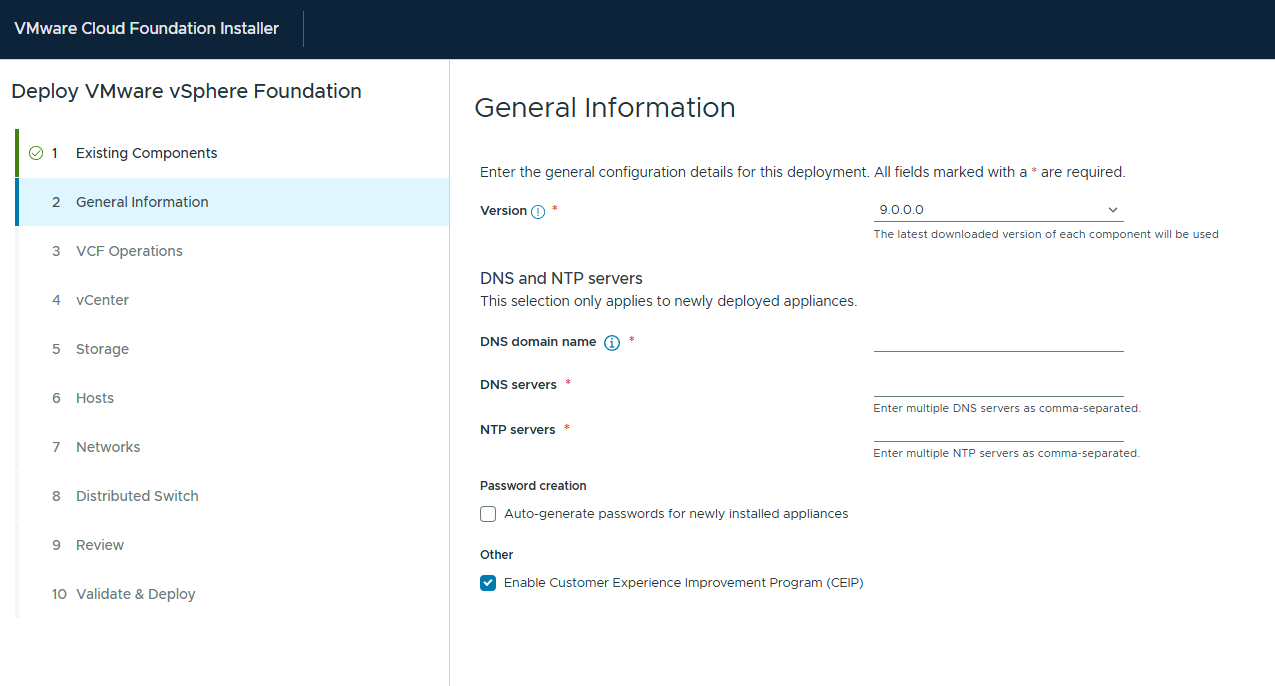
The VCF Installer has the ability to deploy different versions depending on what has been downloaded to the Depot. We will be deploying 9.0.0 as shown in the Version option. Enter the DNS Domain name, DNS Servers and NTP servers information. There is an option to auto generate passwords but I prefer to be in control of these and they can be changed after deployment if required. You then have the option to disable CEIP if you do not want to participate. Click Next to continue
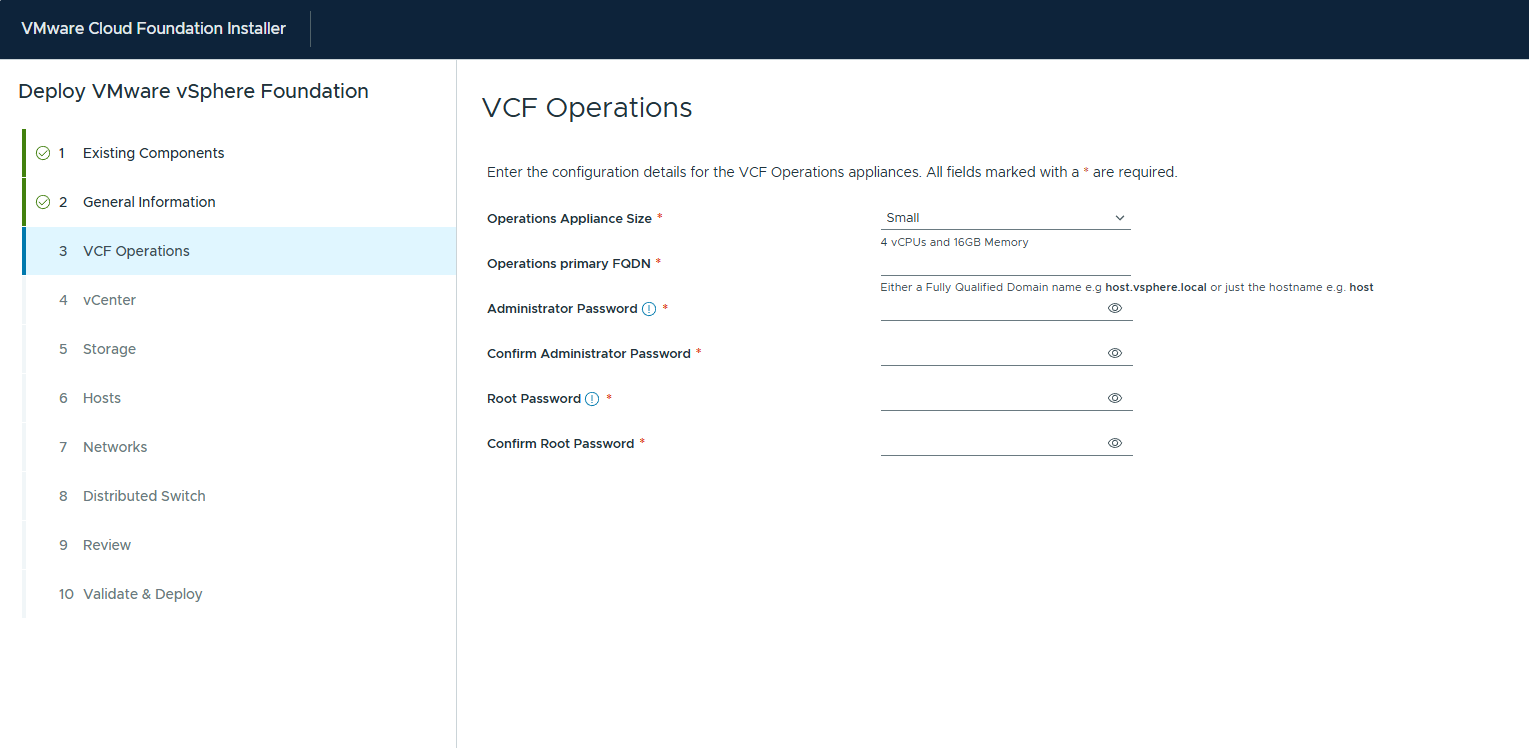
One of the number of benefits of the new VCF Installer is the amount of things it will configure for you that in the past you would have had to have done manually once the vCenter deployment was complete. Now we are at the stage of the VCF Operations (formally known as Aria Operations or vRealize Operations) deployment. You can choose the Deployment size, each of these options has different resource requirements which will be shown to you when chosen. I am deploying the small option for this example. Add the FQDN and the Admin and Root passwords the appliance will use. Make sure these meet the complexity requirements, and that you note these down for future use. I tend to write down the password in say notepad and then copy and paste to make sure I don’t fat finger the keyboard and then not be able to log on after deployment. Hit Next to continue
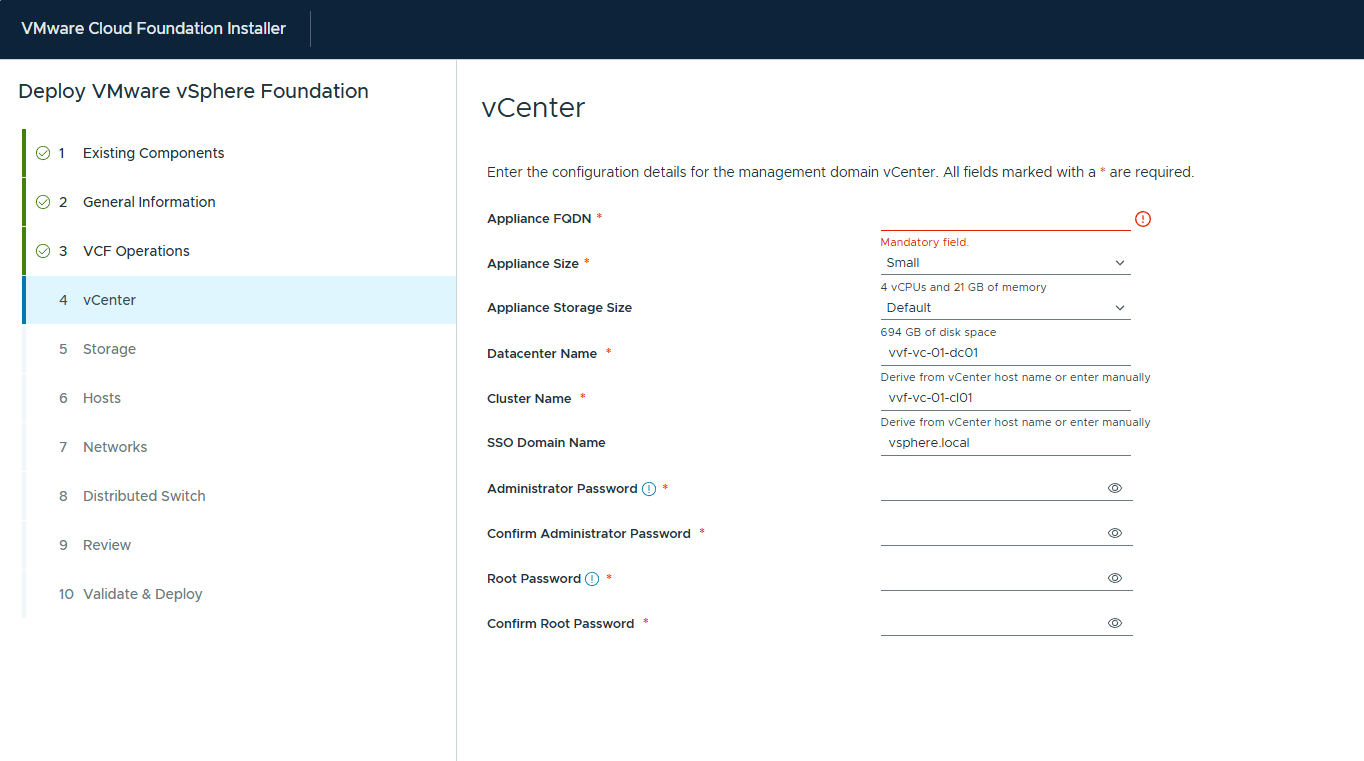
Now at the vCenter deployment options screen. From here you can choose Name, Sizing, Datacenter and Cluster names and passwords. Some of the options will be auto generated backed on the vCenter host name but can be changed if required to match say a naming convention. Make sure all the passwords meet complexity and have been documented and then click Next
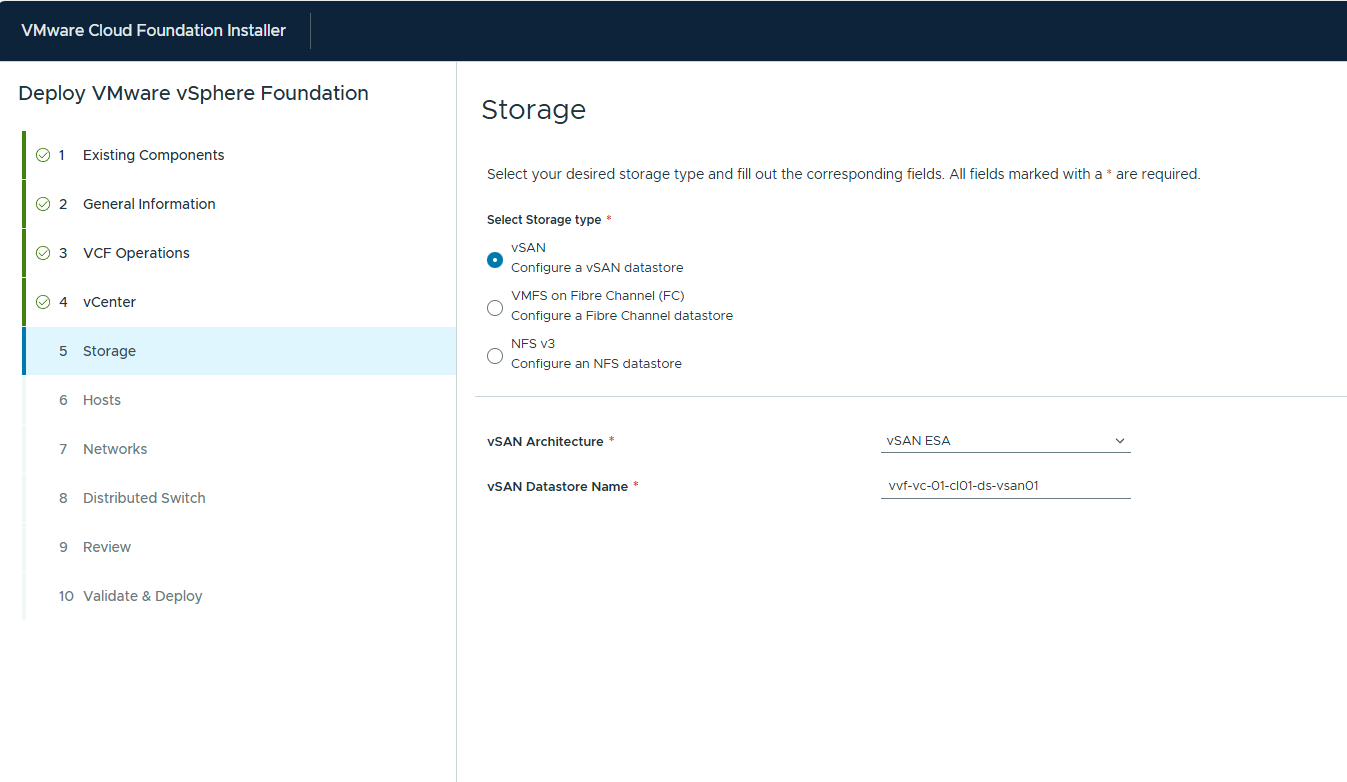
At the storage option you are able to choose what storage the vSphere cluster will be utilising. If you choose vSAN the installer will configure this during the bringup, the FC and NFS options will require additional pre work not covered here. I will be choosing the vSAN OSA option and then you can rename the vSAN datastore if required. Click Next
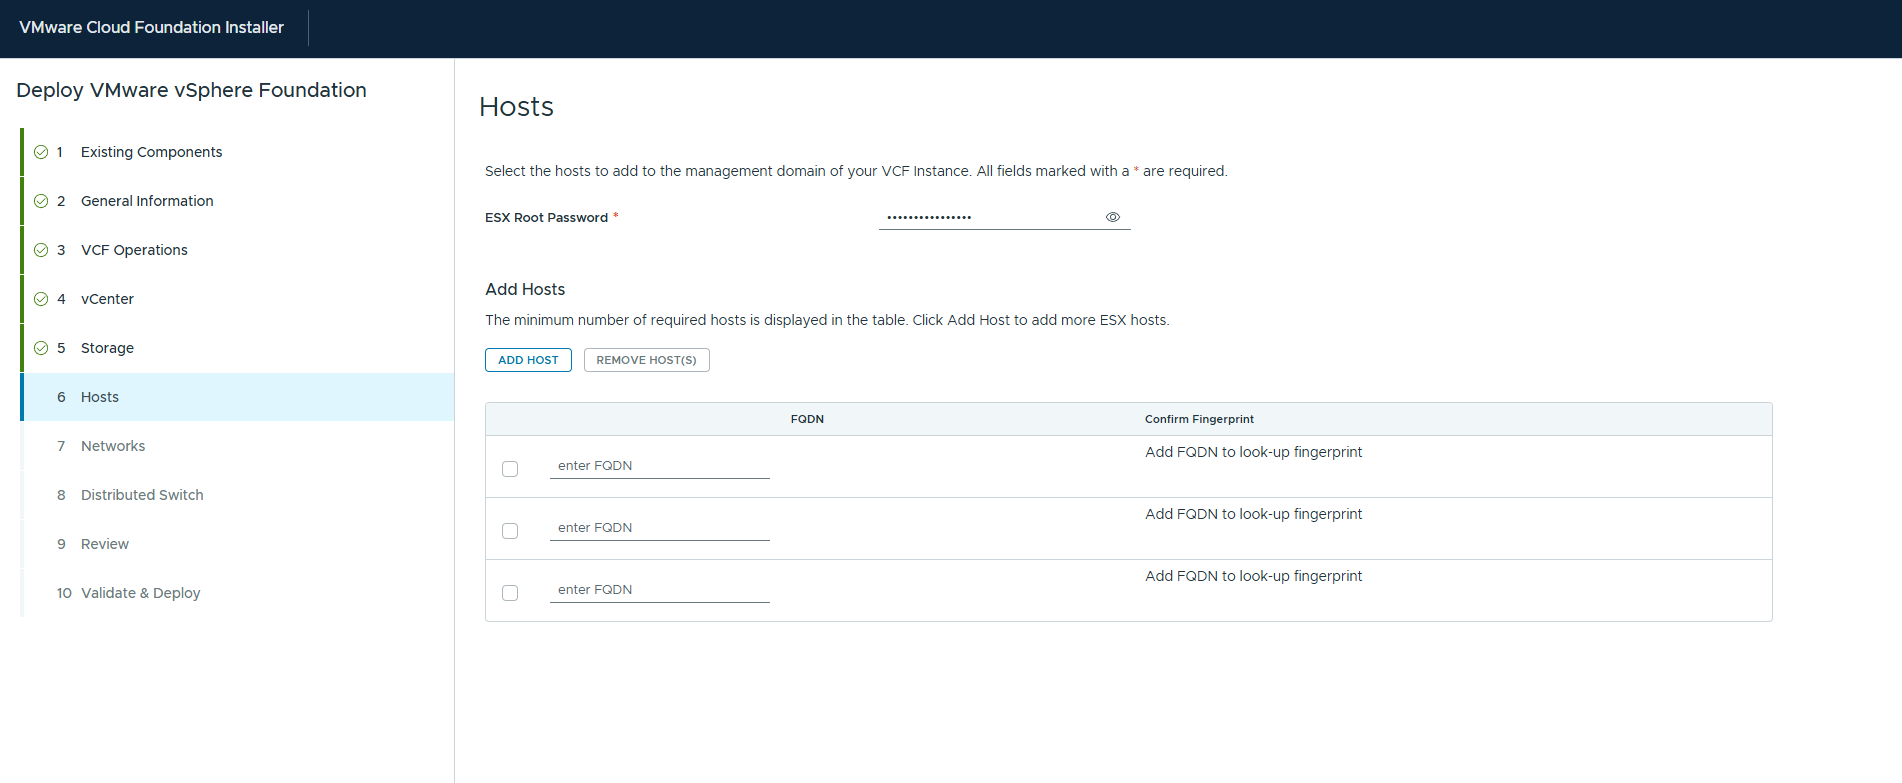
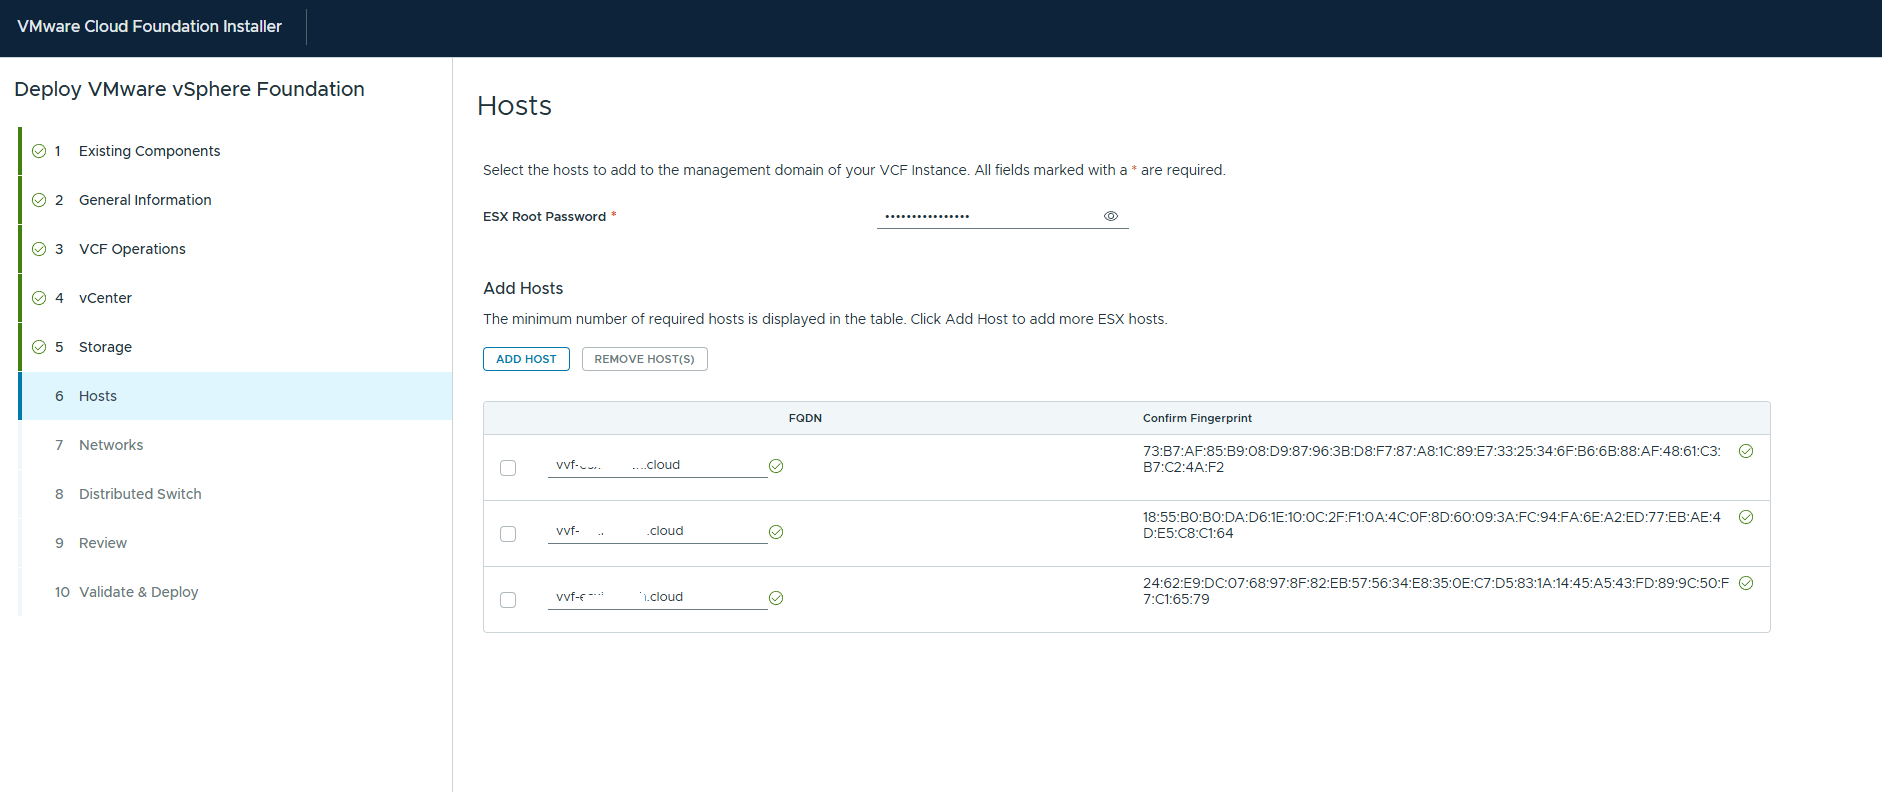
On the hosts screen you can add all the hosts you want to be included. For a vSAN deployment you will need at least three hosts. For the UI each host will need the same Root password, if you do a JSON deployment they can all be unique. Enter the details and validate and it will confirm the fingerprint of each server at which point you will be able to click Next to continue
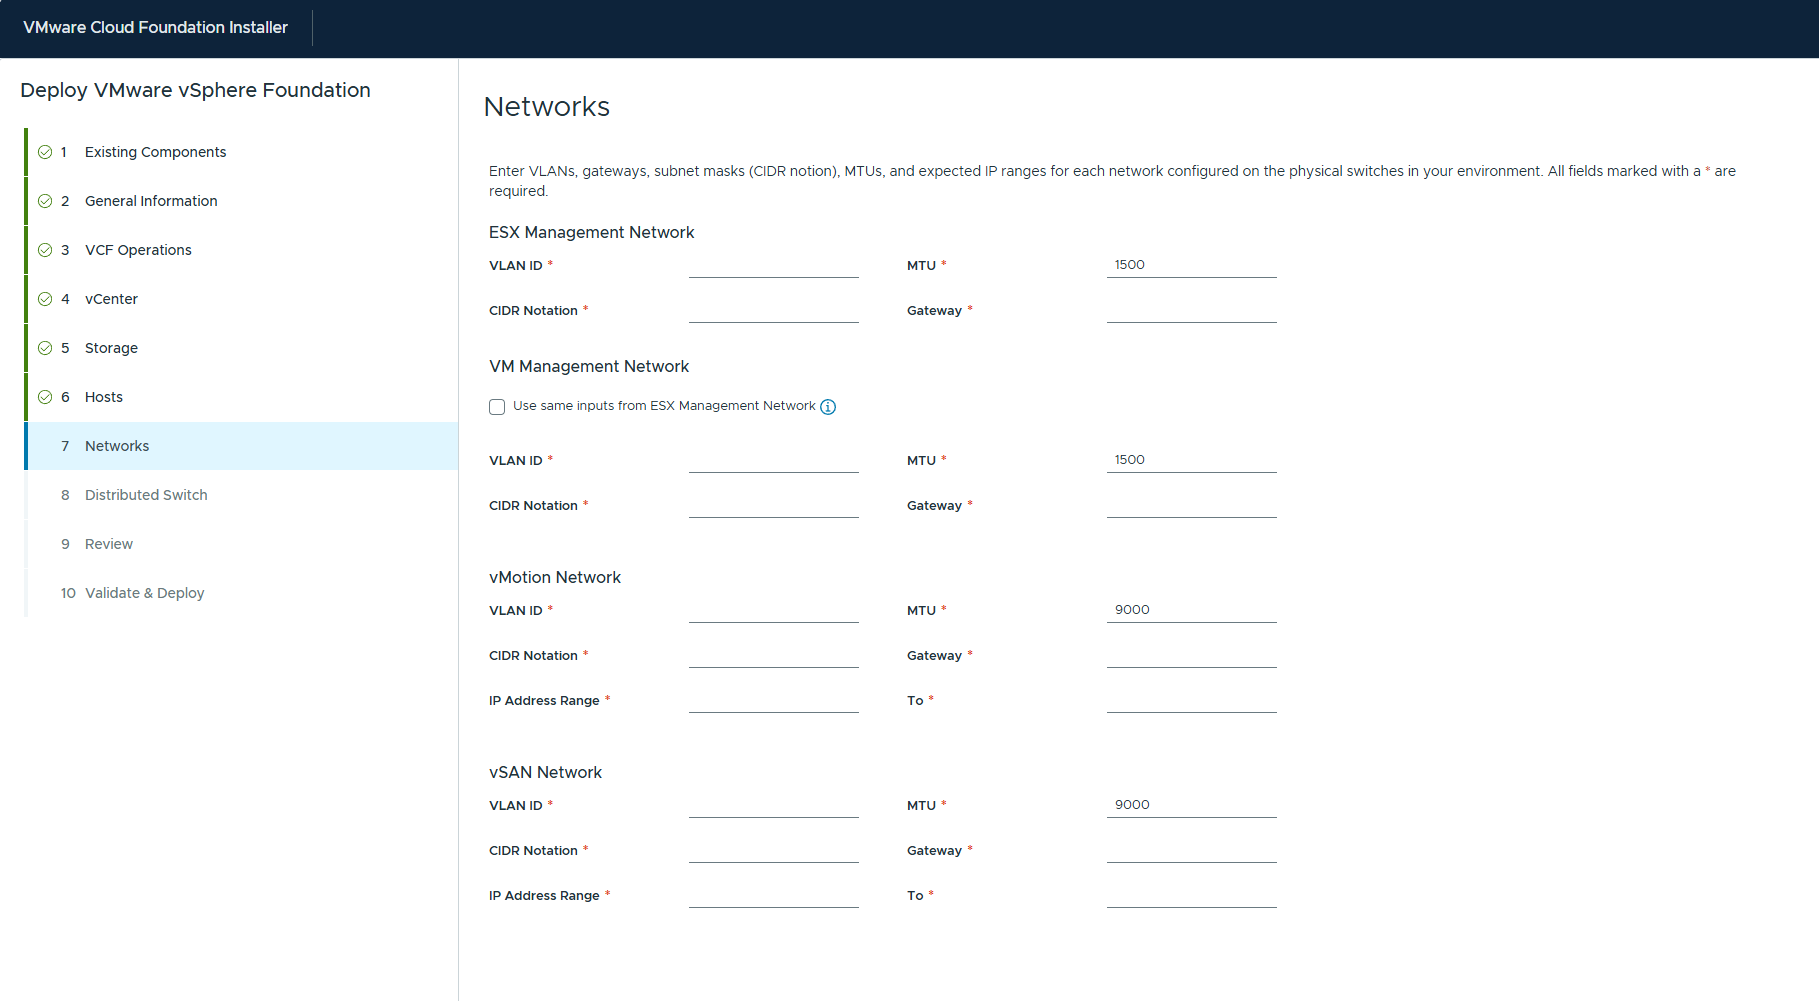
As I chose the vSAN option previously in the Networks section we are asked to add the details for the Management, vMotion and vSAN networks. You do have an option to have segregation between the ESX hosts and the VM Management components. This is always a good option if it can be facilitated to add an additional layer of segregation and security. If you choose not to then the management VMs will have their own dedicated switch portgroup but still be on the same vLAN.
All of the networks are all required to be in place before the deployment. Complete all the details for the 3 or 4 networks and then click Next to continue.

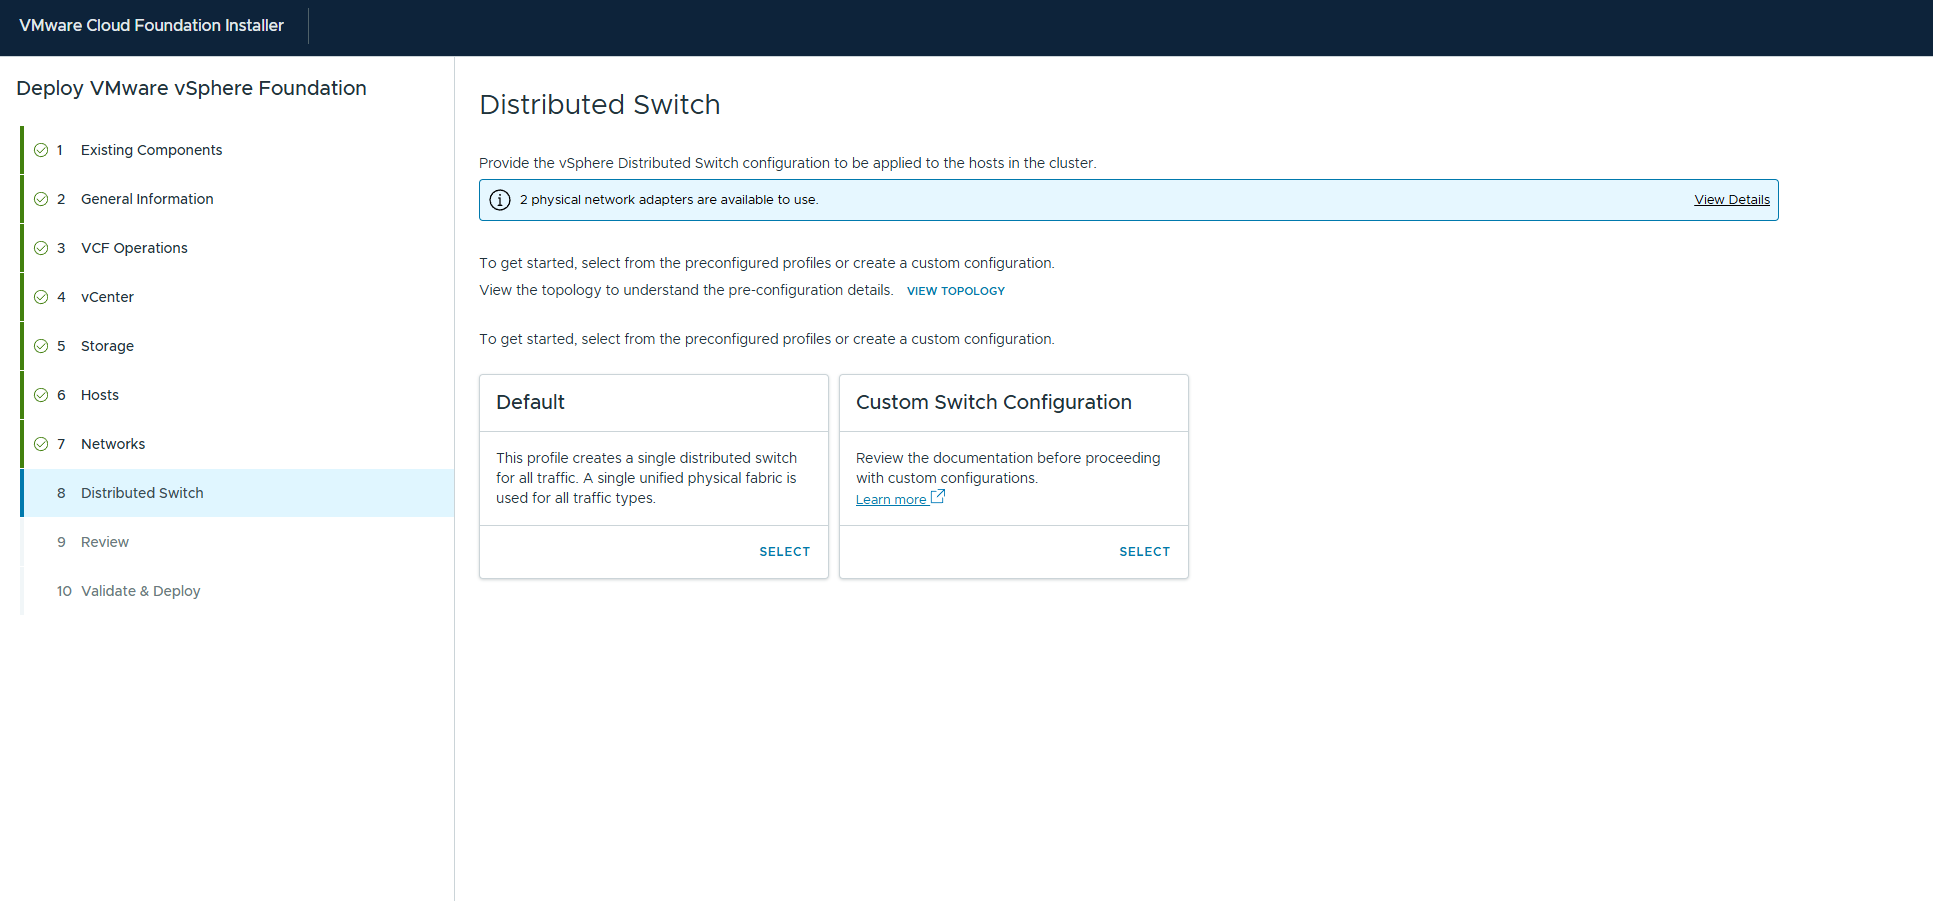
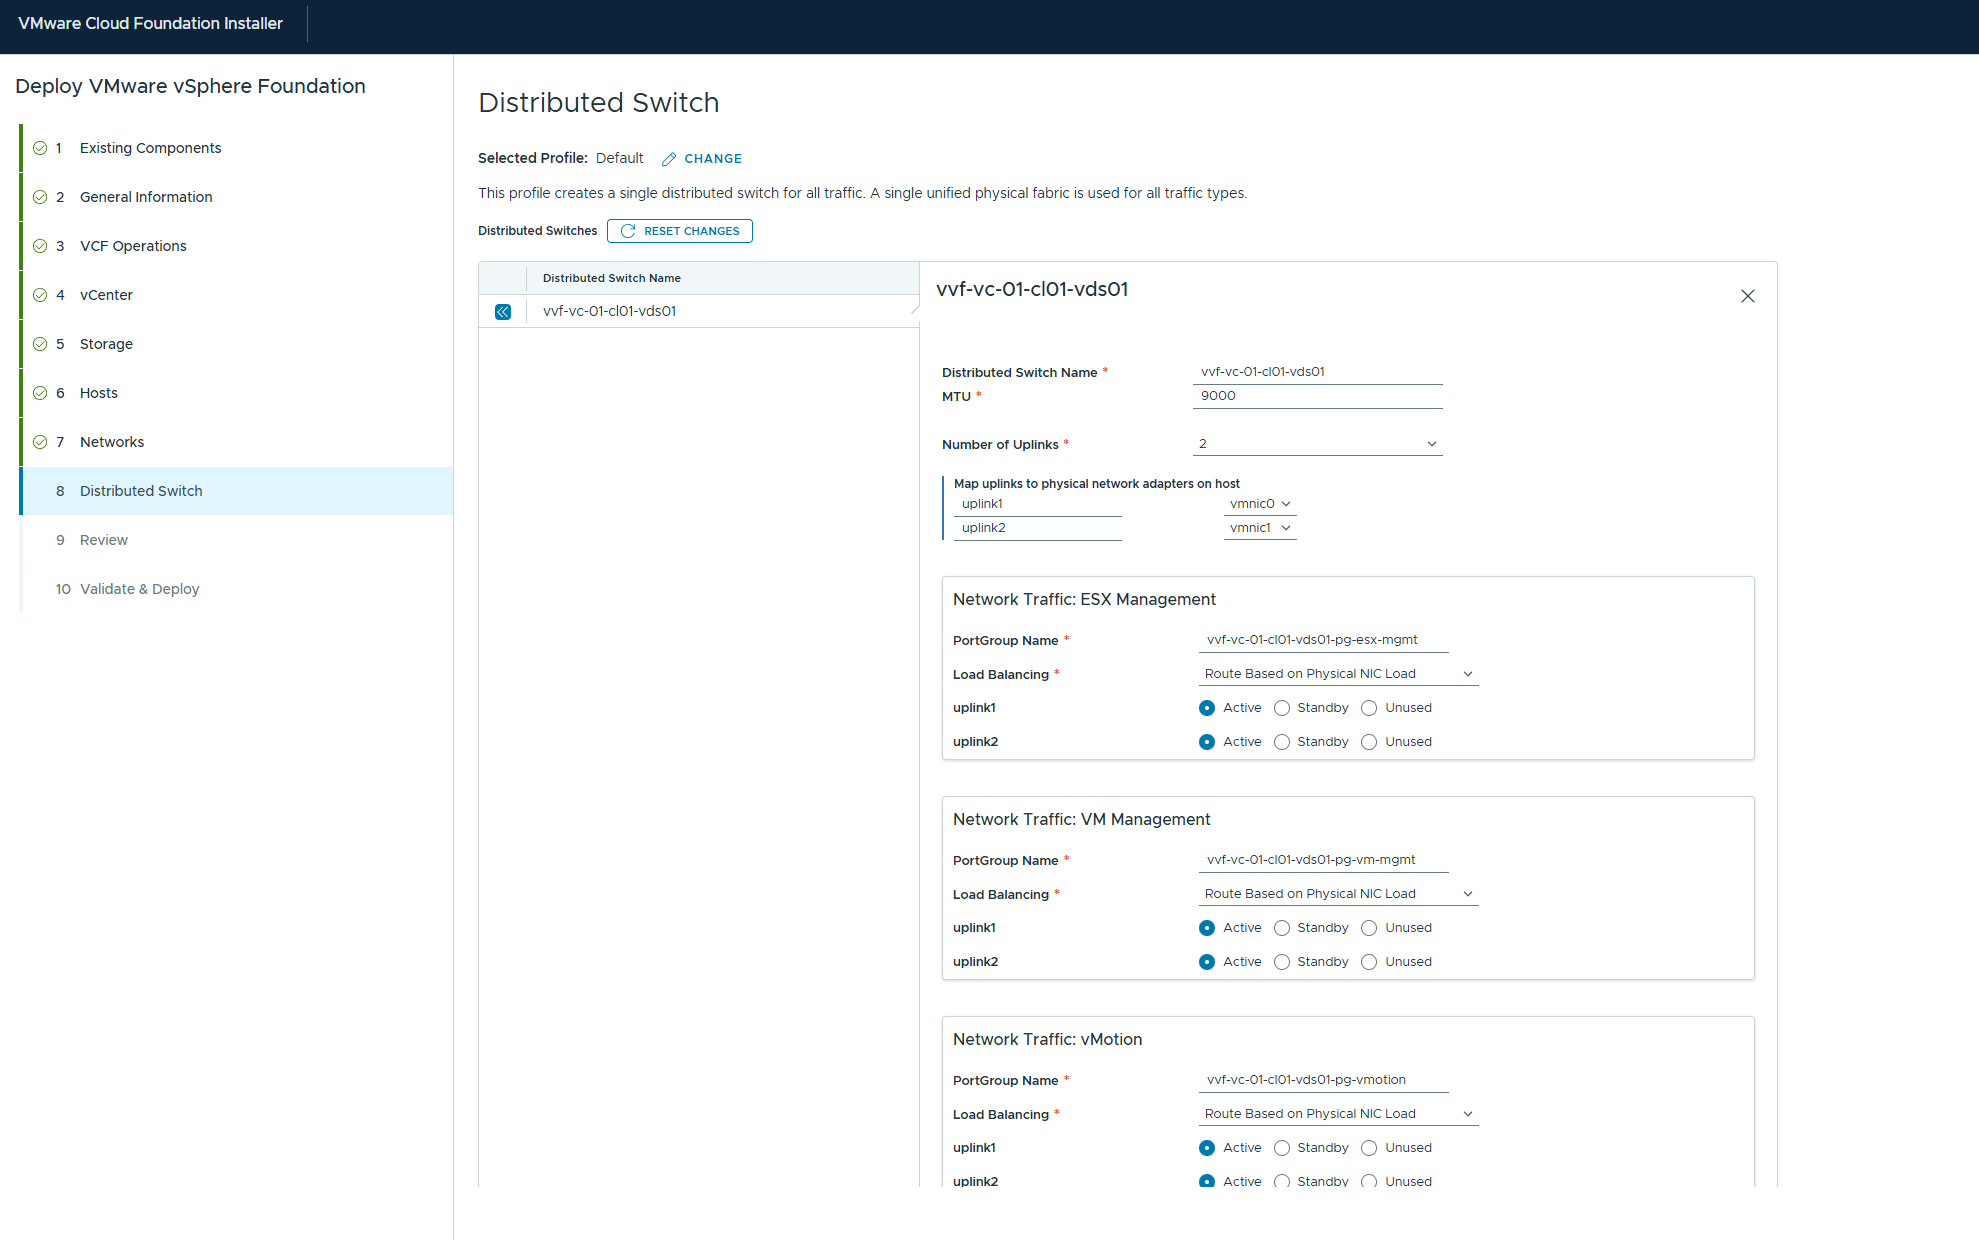
Distributed Switch configuration. At this option you are able to determine your switch configuration. You have the default option of a single switch for all types. If you have multiple NICs doing different traffic types you can choose the customer option to allow you to build the switch configuration that matches your requirements. Then its Next to continue.

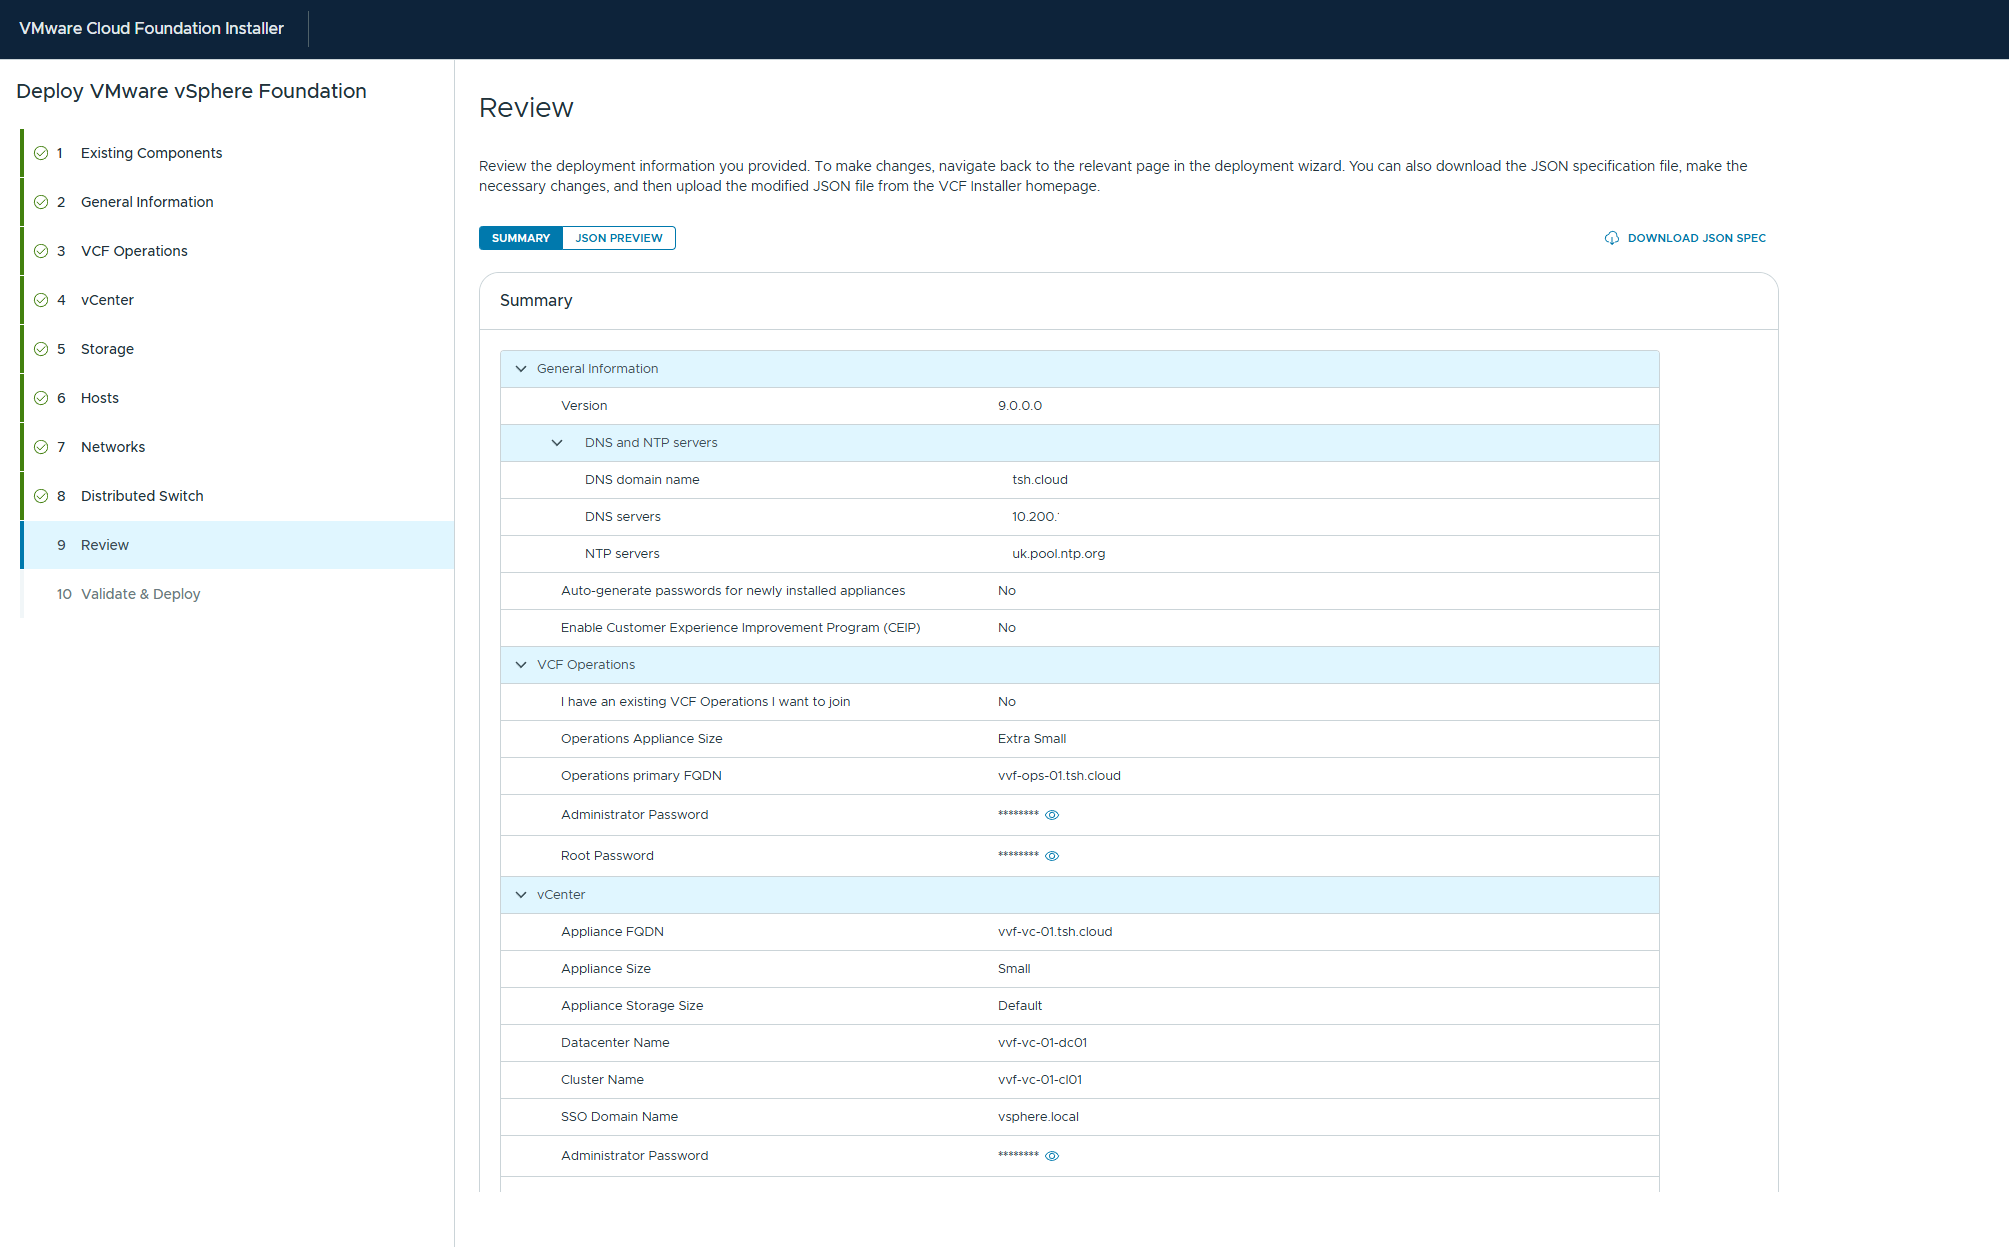
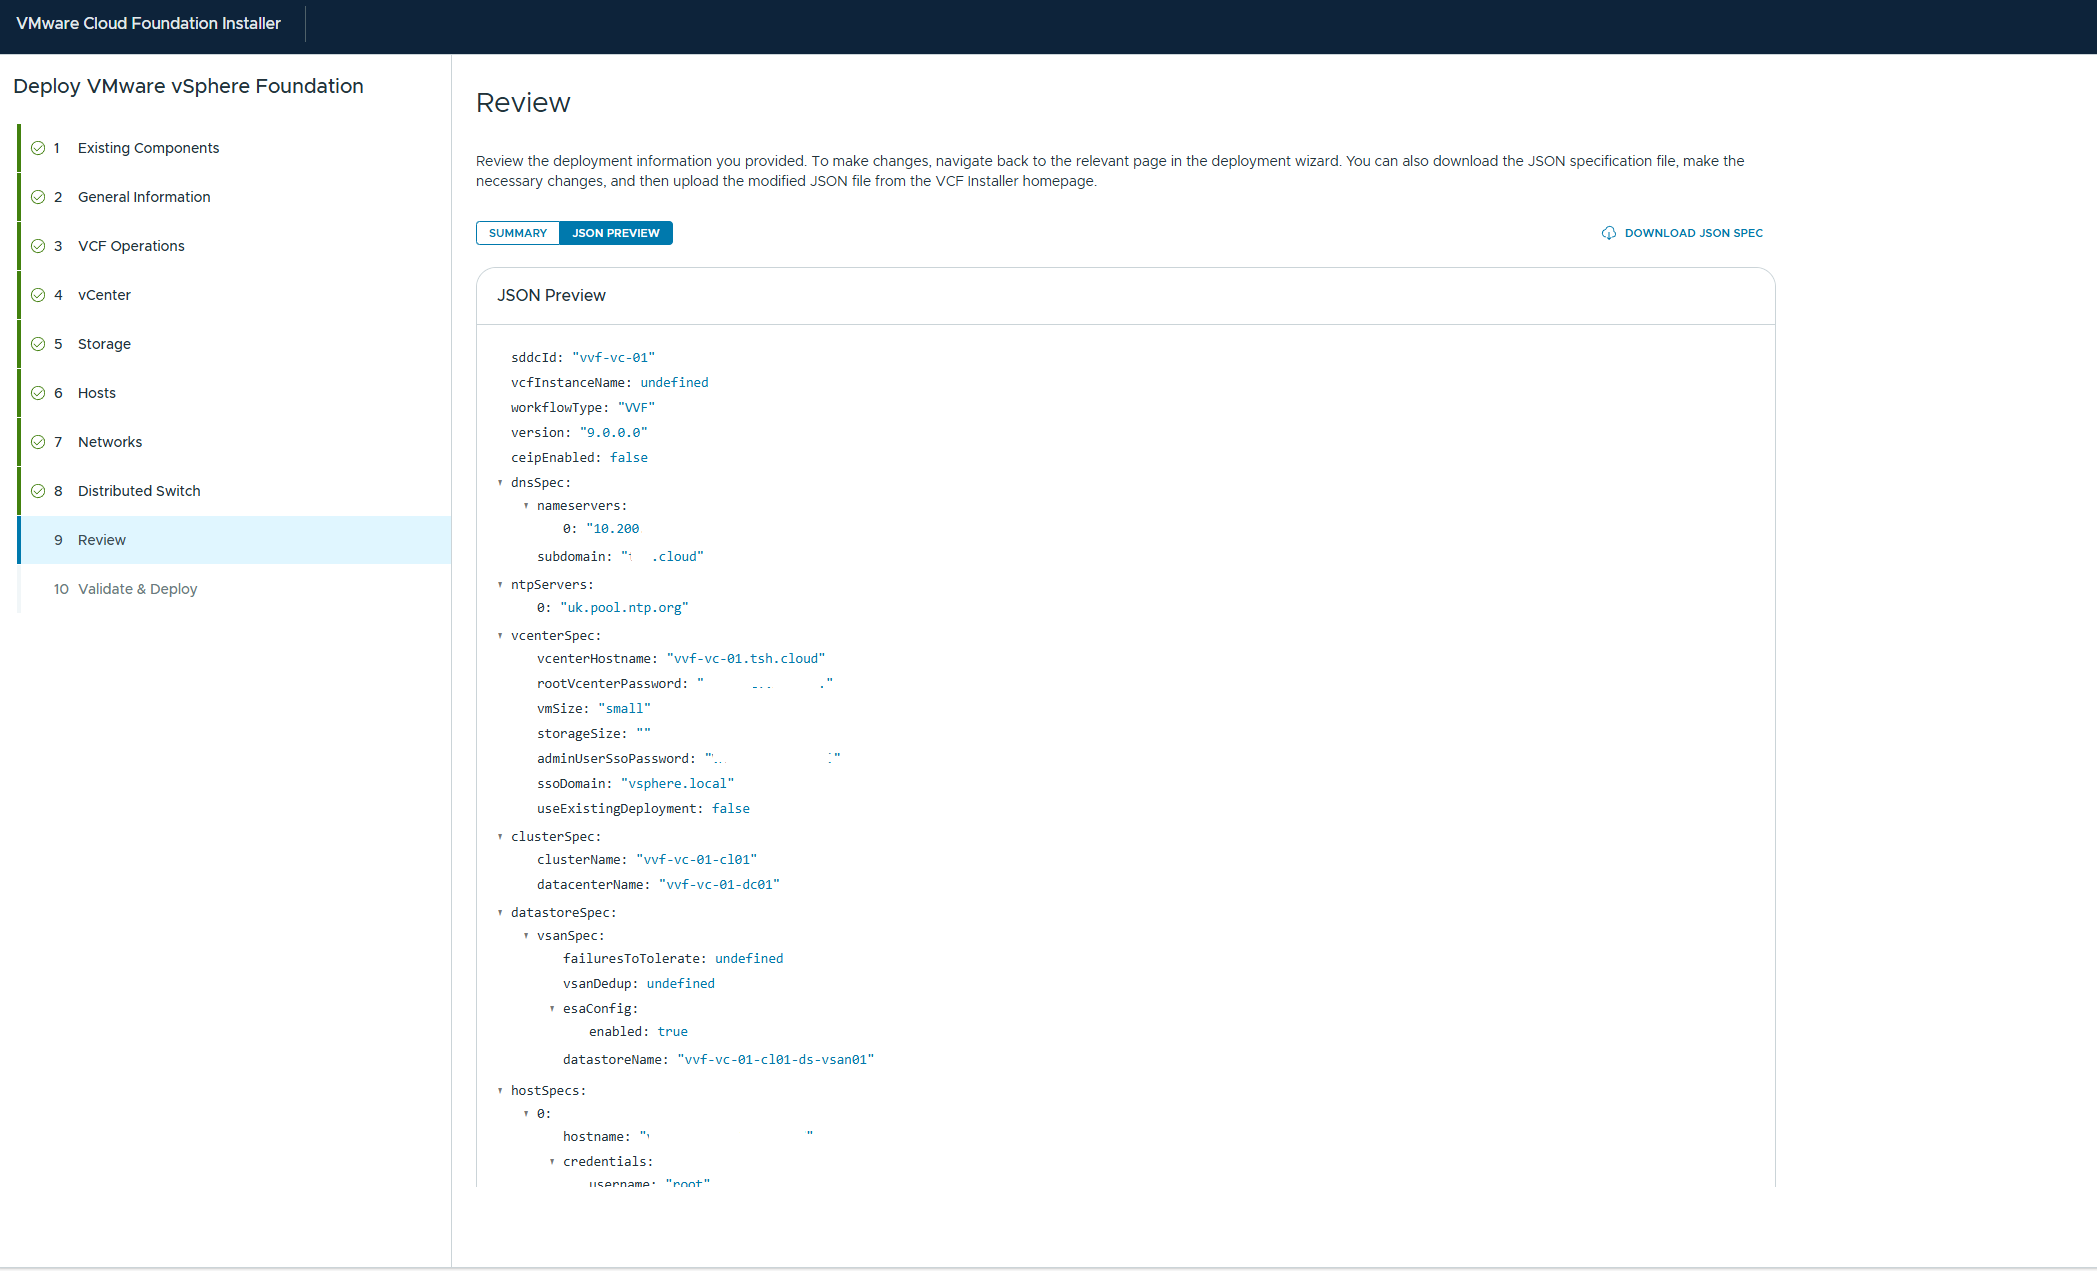
We are now close to the end, the next screen is the review screen and is an important one for a number of reasons. As with any review screen it will give you a chance to see and validate all the settings that you have filled in during the last 8 windows of the deployment wizard. But you might also notice that you have two options that mention JSON on the screen. Now whilst going through a wizard menu, especially for the first time allows you to see all the options available and let you plan on the art of the possible, filling this in time and again can be time consuming and prone to errors. If you are rolling out labs regularly, or even rebuilding or recovering having the ability to do this quickly and repeatable is invaluable and this is where a JSON file comes in. You can see on the screen below that you have the option to preview the JSON, which will show you all the options filled in during the wizard in a file format, but you also have the option to download. Now what this enables you to do is say next time you want to rebuild the same lab you can just use that file rather than having to go through the wizard again, or you can change details like names and IPs and use it to roll out new labs quickly. Plus if you are doing this in a production environment you can store the JSON (probably minus the passwords) and be able to use it as an as built reference for the future.
And now we have the final step before deployment starts and this is the validate tests. This is one of the great things that has come over from the VCF (VMware Cloud Foundation) deployments. In the past at this point the install would start using the information provided with fingers crossed it was all correct and you had carried out the due diligence and checked everything before starting. Now the VCF installer will run a number of tests to check that the information provided will work. It will check IPs, name resolution HCL compatibility the list goes on. If any fail you can rectify and then try again and then at the end you are ready to deploy

And then after some time you should see
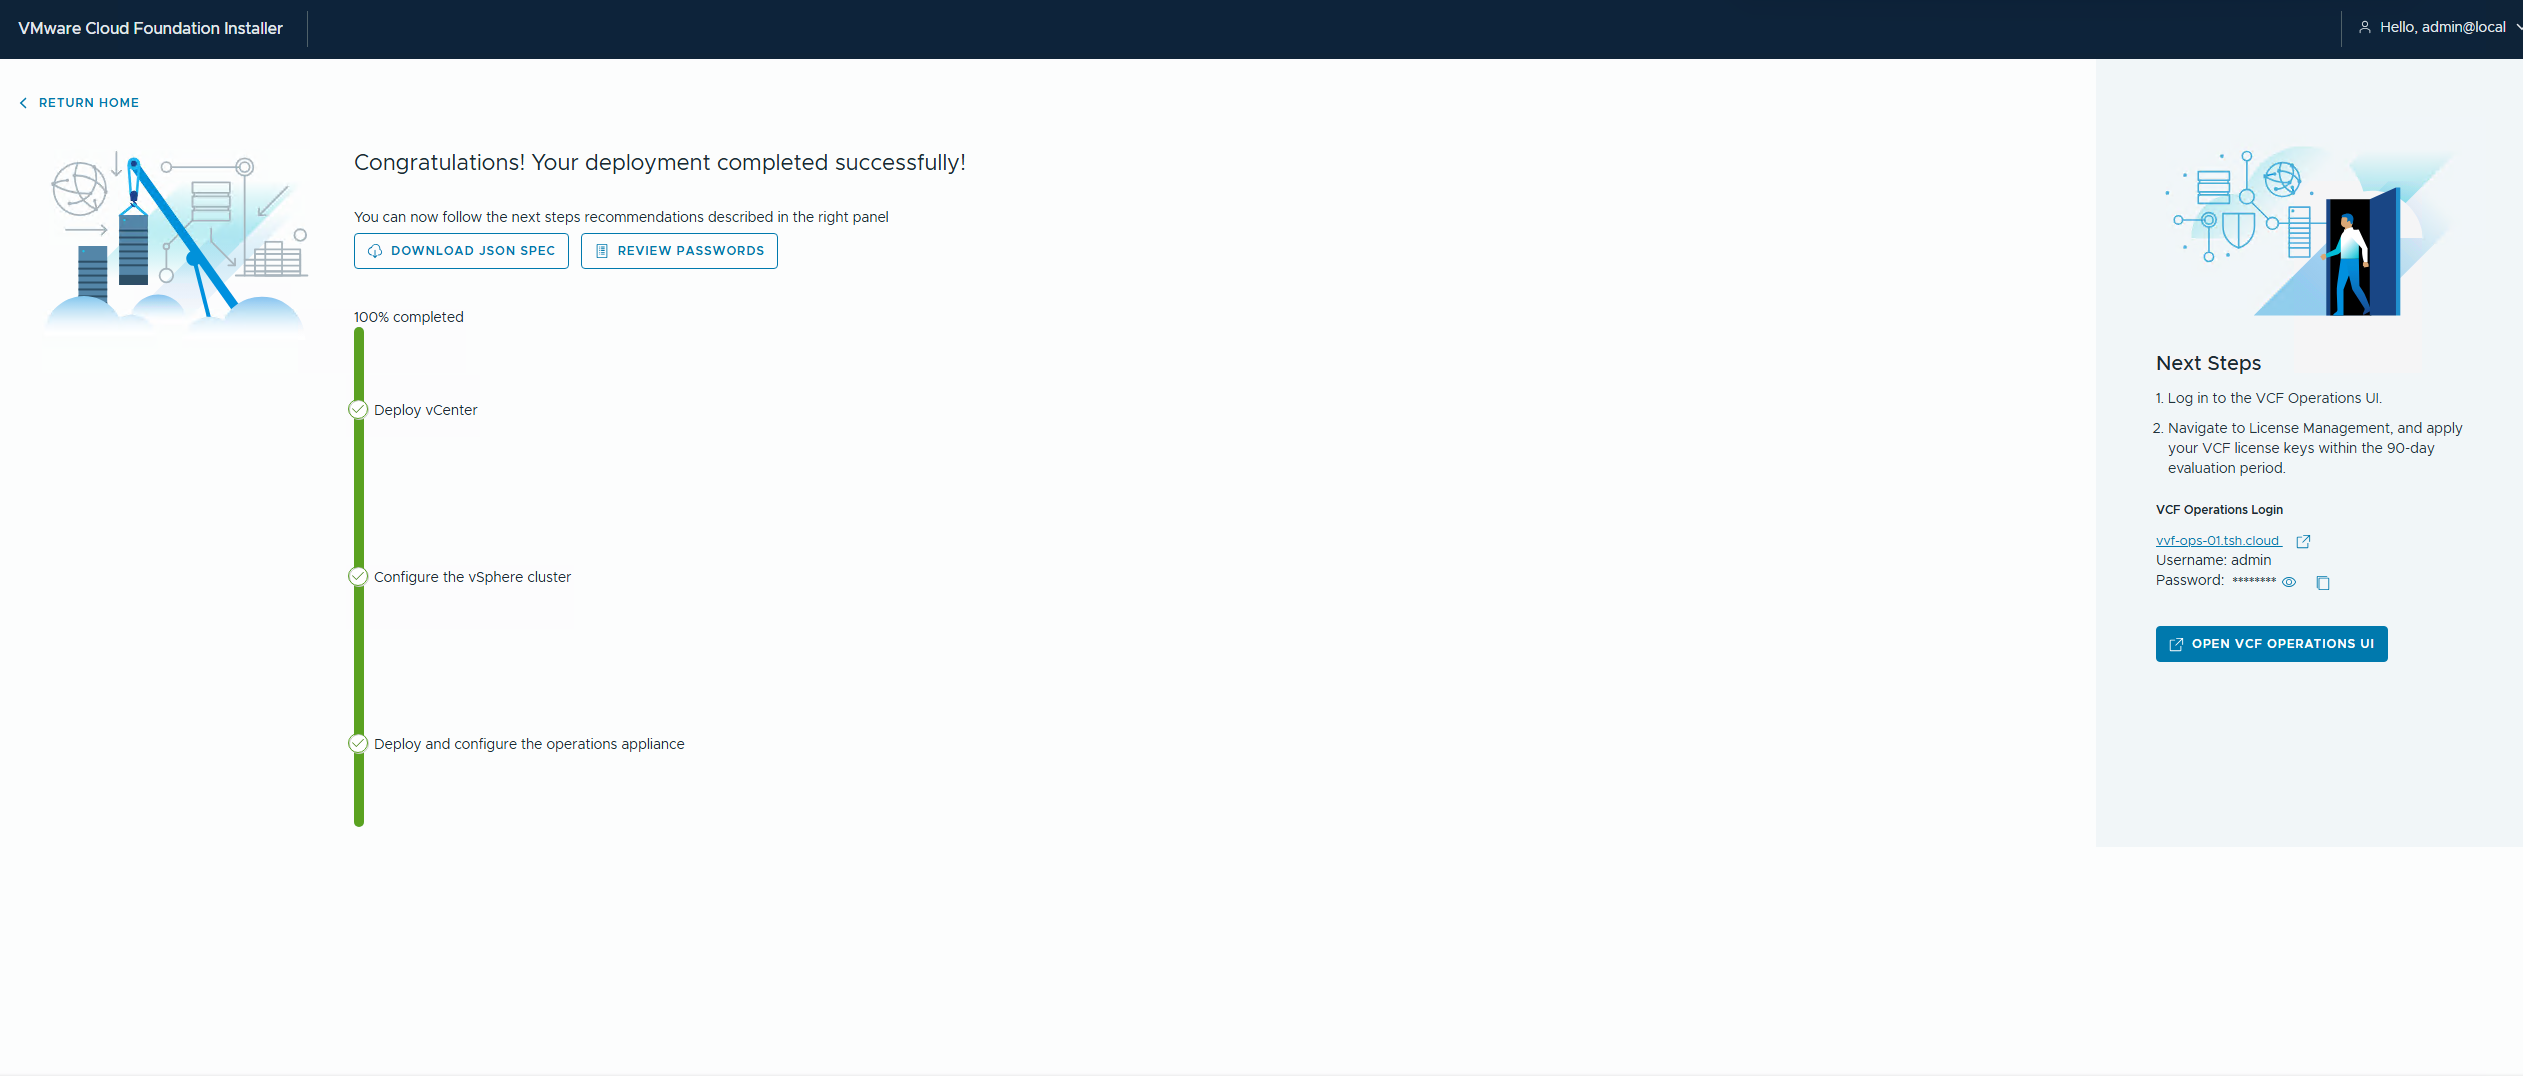
VVF Final Configuration
Now this is the point I would like to say, everything is done and you are ready to start using the environment. Unfortunately unlike in VCF not everything is automated and configured during the bring up. At this point although vCenter and VCF Operations are deployed, they are not configured to talk to each other.
Open a browser window and connect to VCF Operations. Log in using the Admin account you created during the VCF Installer wizard.
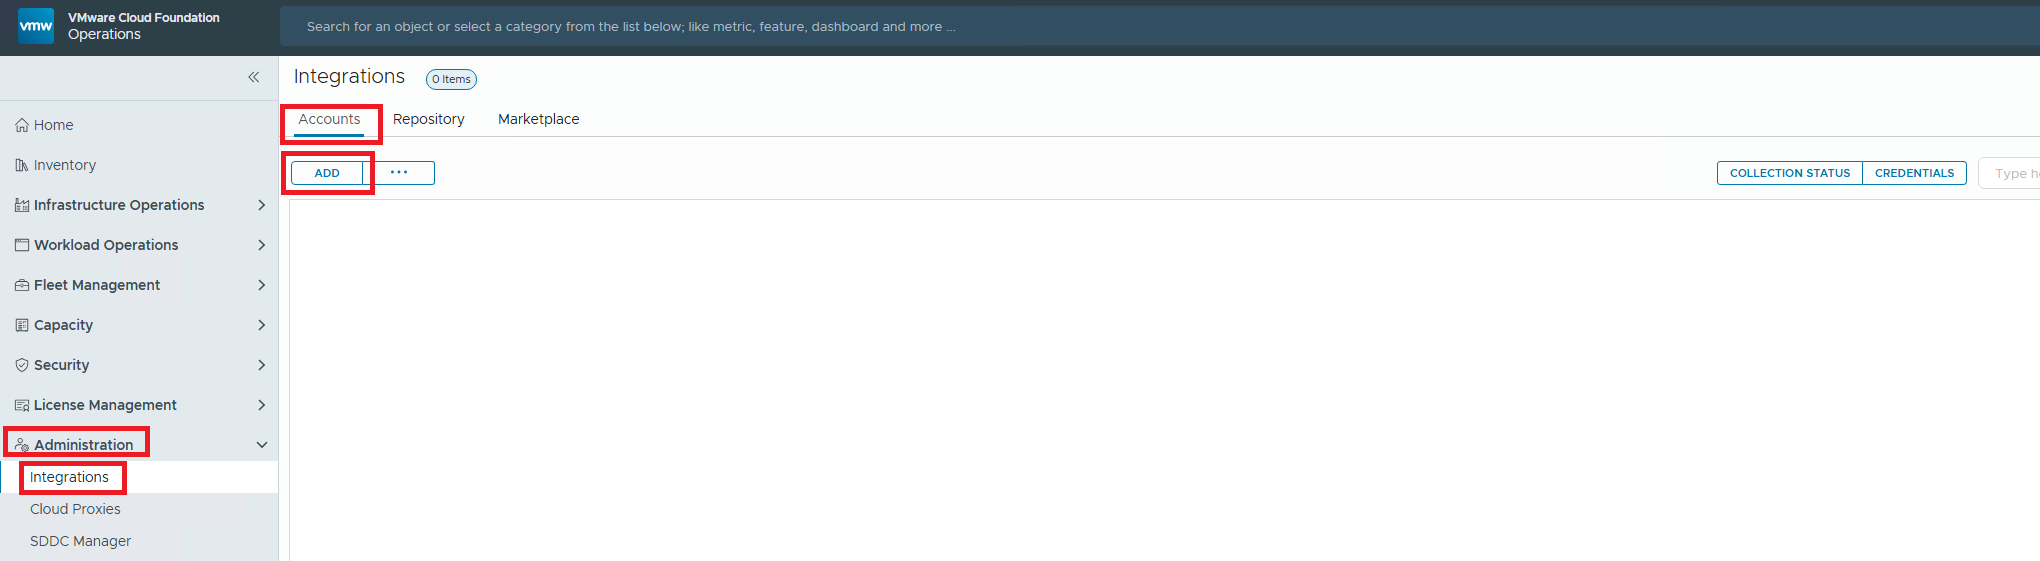
Once you are in the VCF Operations console in the left hand pane navigate to Administration \ Integrations \ Accounts \ Add
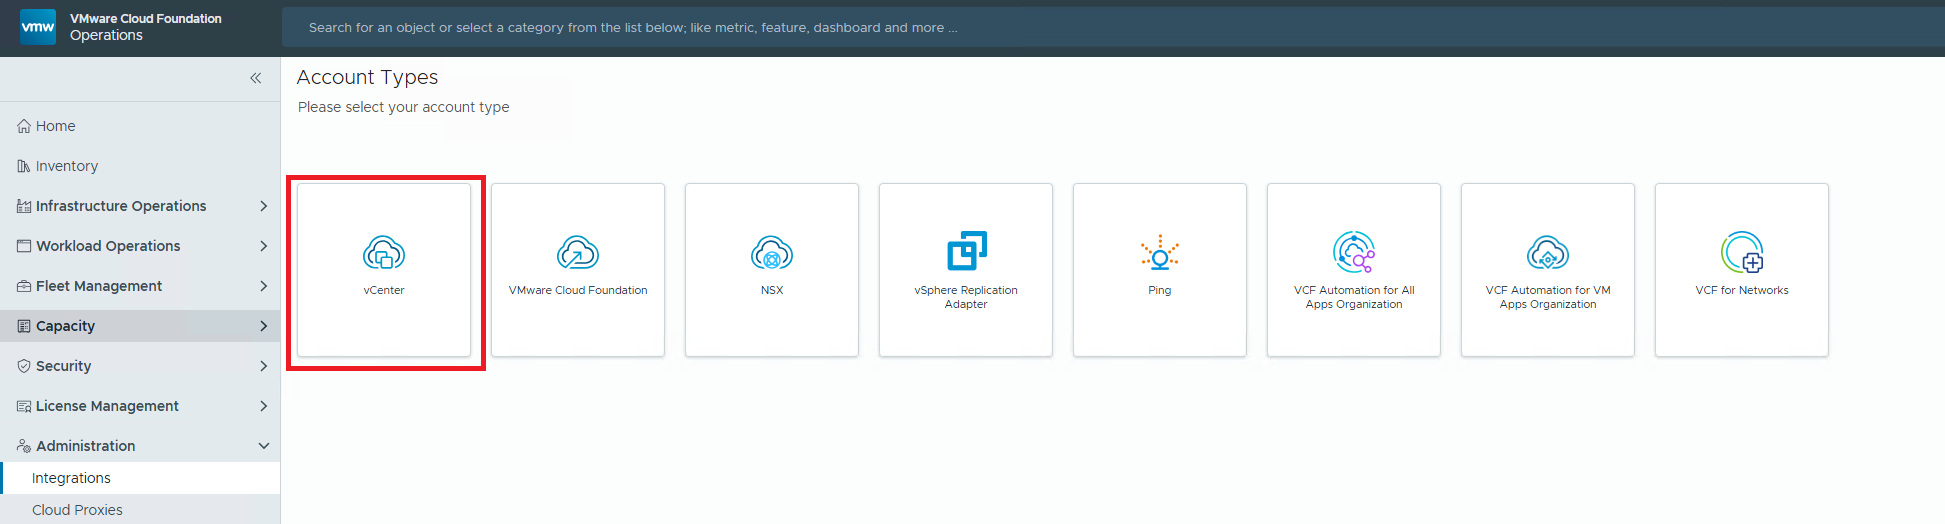
When the Account Types window opens choose the vCenter tile
The Add Account window will open and this is where you will add all the details to allow you to connect to the vCenter instance. I will be using local accounts for the demo but if this is a production environment and you have configured your vCenter instance to a directory source you could use a service account to allow connectivity.

You will need to give the account a name, the FQDN of the vCenter could be an option In the Connect vCenter section, add the FQDN and then in the Credentials you have the option of using an existing account or creating a new one by clicking on the + button
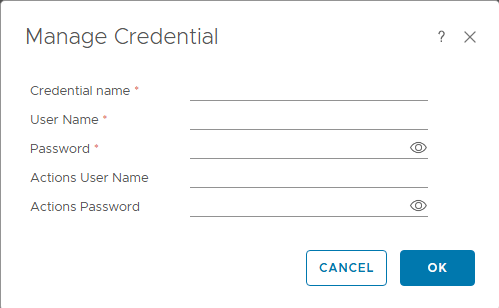
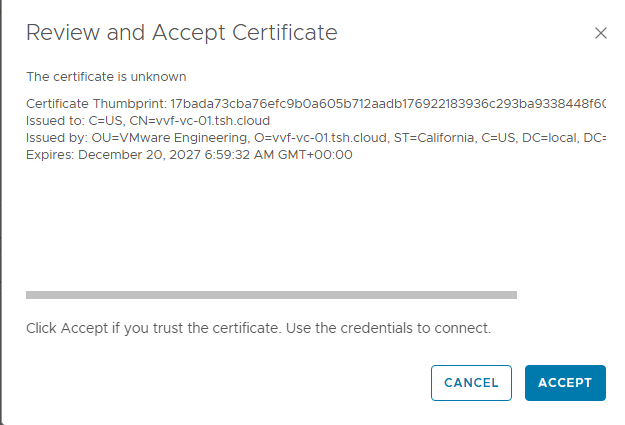
Fill in the details and then click on Validate Connection button to make sure your configuration works, and accept the certificate
And it should complete successfully
If you are using vSAN in the environment you can also at this point configure VCF Operations to collect vSAN specific information from vCenter Click on the vSAN button
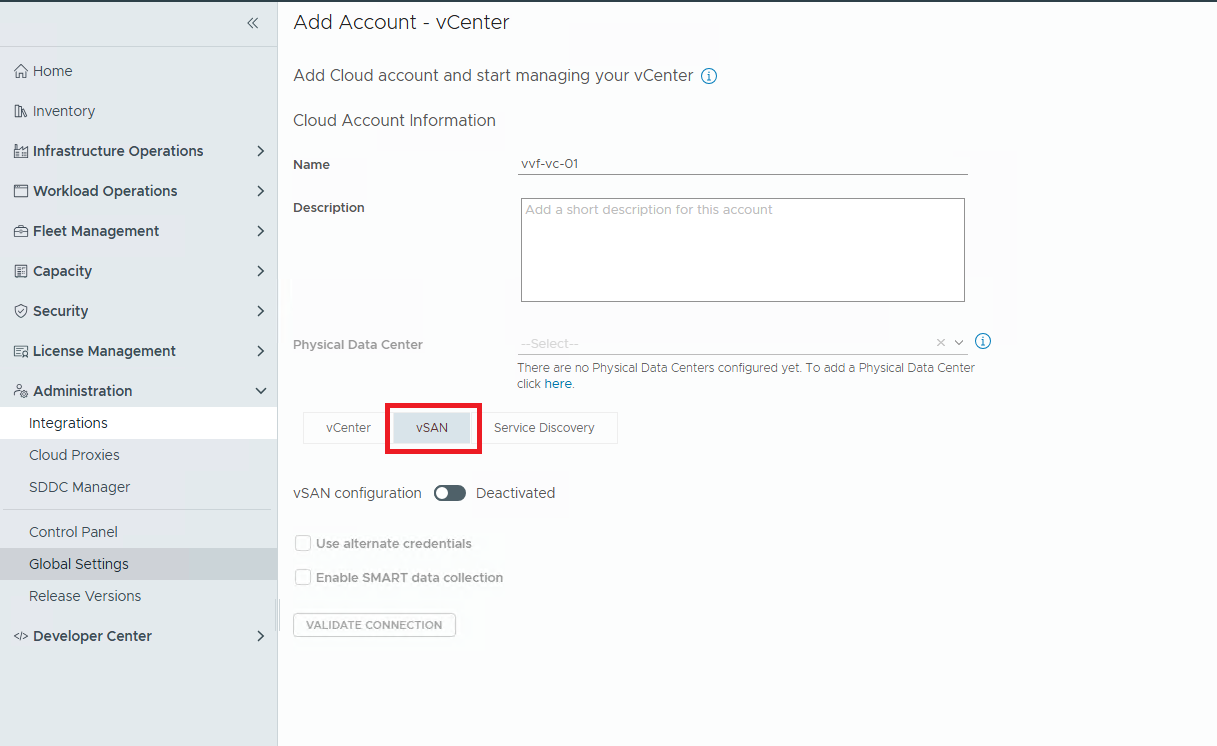
You can toggle the slider to activate the monitoring. You have the option to use different credentials and collect SMART disk data as well, click on Validate Connection.
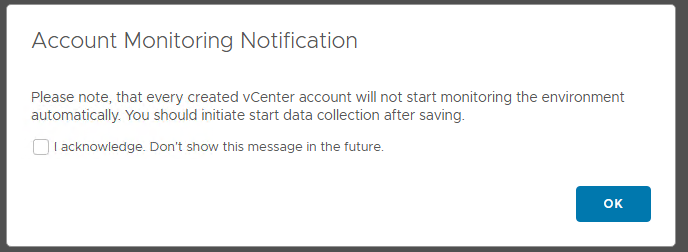
Once completed you can click on Add to create the connection. You will be prompted with the following informing you that you will not start to monitor the new connection until you manually start the data collection. Acknowledge this and click on OK
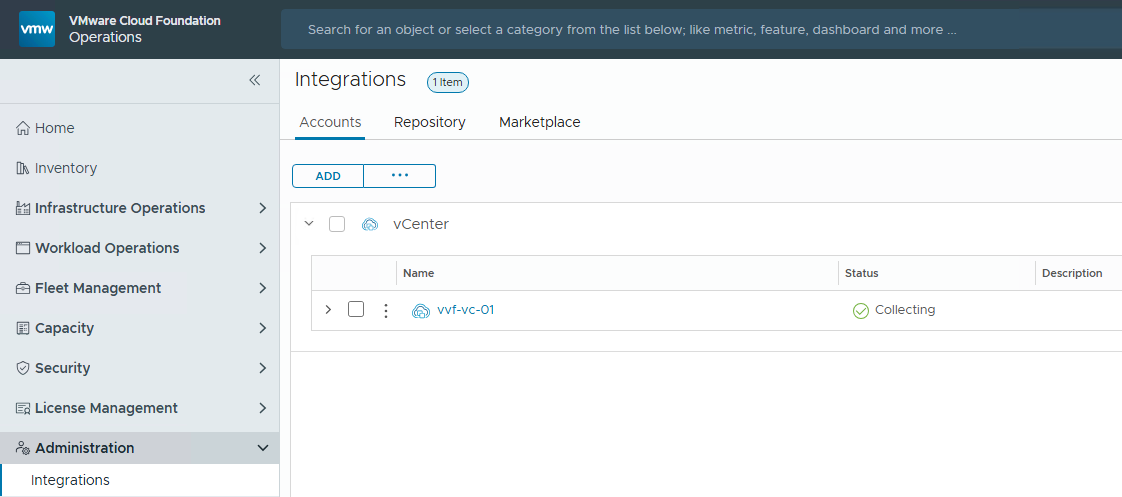
To start the collection the previous message mentioned in the left hand pane navigate to Administration \ Integrations \ Accounts and locate the vCenter you created. Click on the three dots and from the drop down menu click on ‘Start Collecting All’
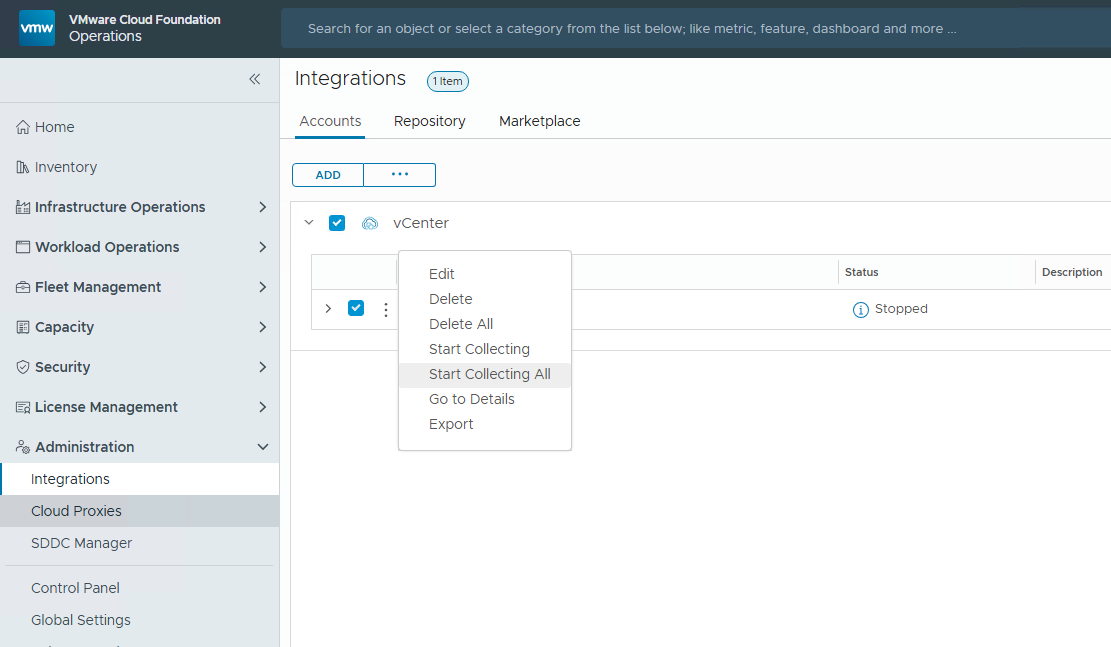
After a few moments you will see the status turn to Collecting with a green tick beside it