
James Tiffany
Monday, January 12, 2026 | 5 minutes
VMware vSphere Foundation (VVF) 9.0 Upgrade to 9.0.1
So if you have been following the previous blogs, or just jumped here we are now going to cover the upgrade of a VVF 9.0 environment to 9.0.1. What we cover here will allow you to upgrade to future versions as well and will show you the differences you will see between a VCF driven upgrade and the steps required in VVF.
When Version 9 was released it was detailed that VMware was moving away from lots of different products all being released on their own cycles making planning an entire infrastructure upgrade a difficult task. When a new version comes out it will be for the whole stack, so when 9.0.1 was released in September 2025 it included updates for all the products supported in VVF. To carry out the update the products will need to be updated in the following order.
Before you carry out the upgrades make sure that you have taken snapshots of the appliances, have tested user access and confirmed that certificates have not expired.
VCF Operations has a pre upgrade assessment tool that can be run before an upgrade to check if any content would be affected by an upgrade. This can include custom dashboards and metrics which could affect your environment. It is recommended this is run before any upgrade. We will not be doing this during this upgrade as it is a brand new install.
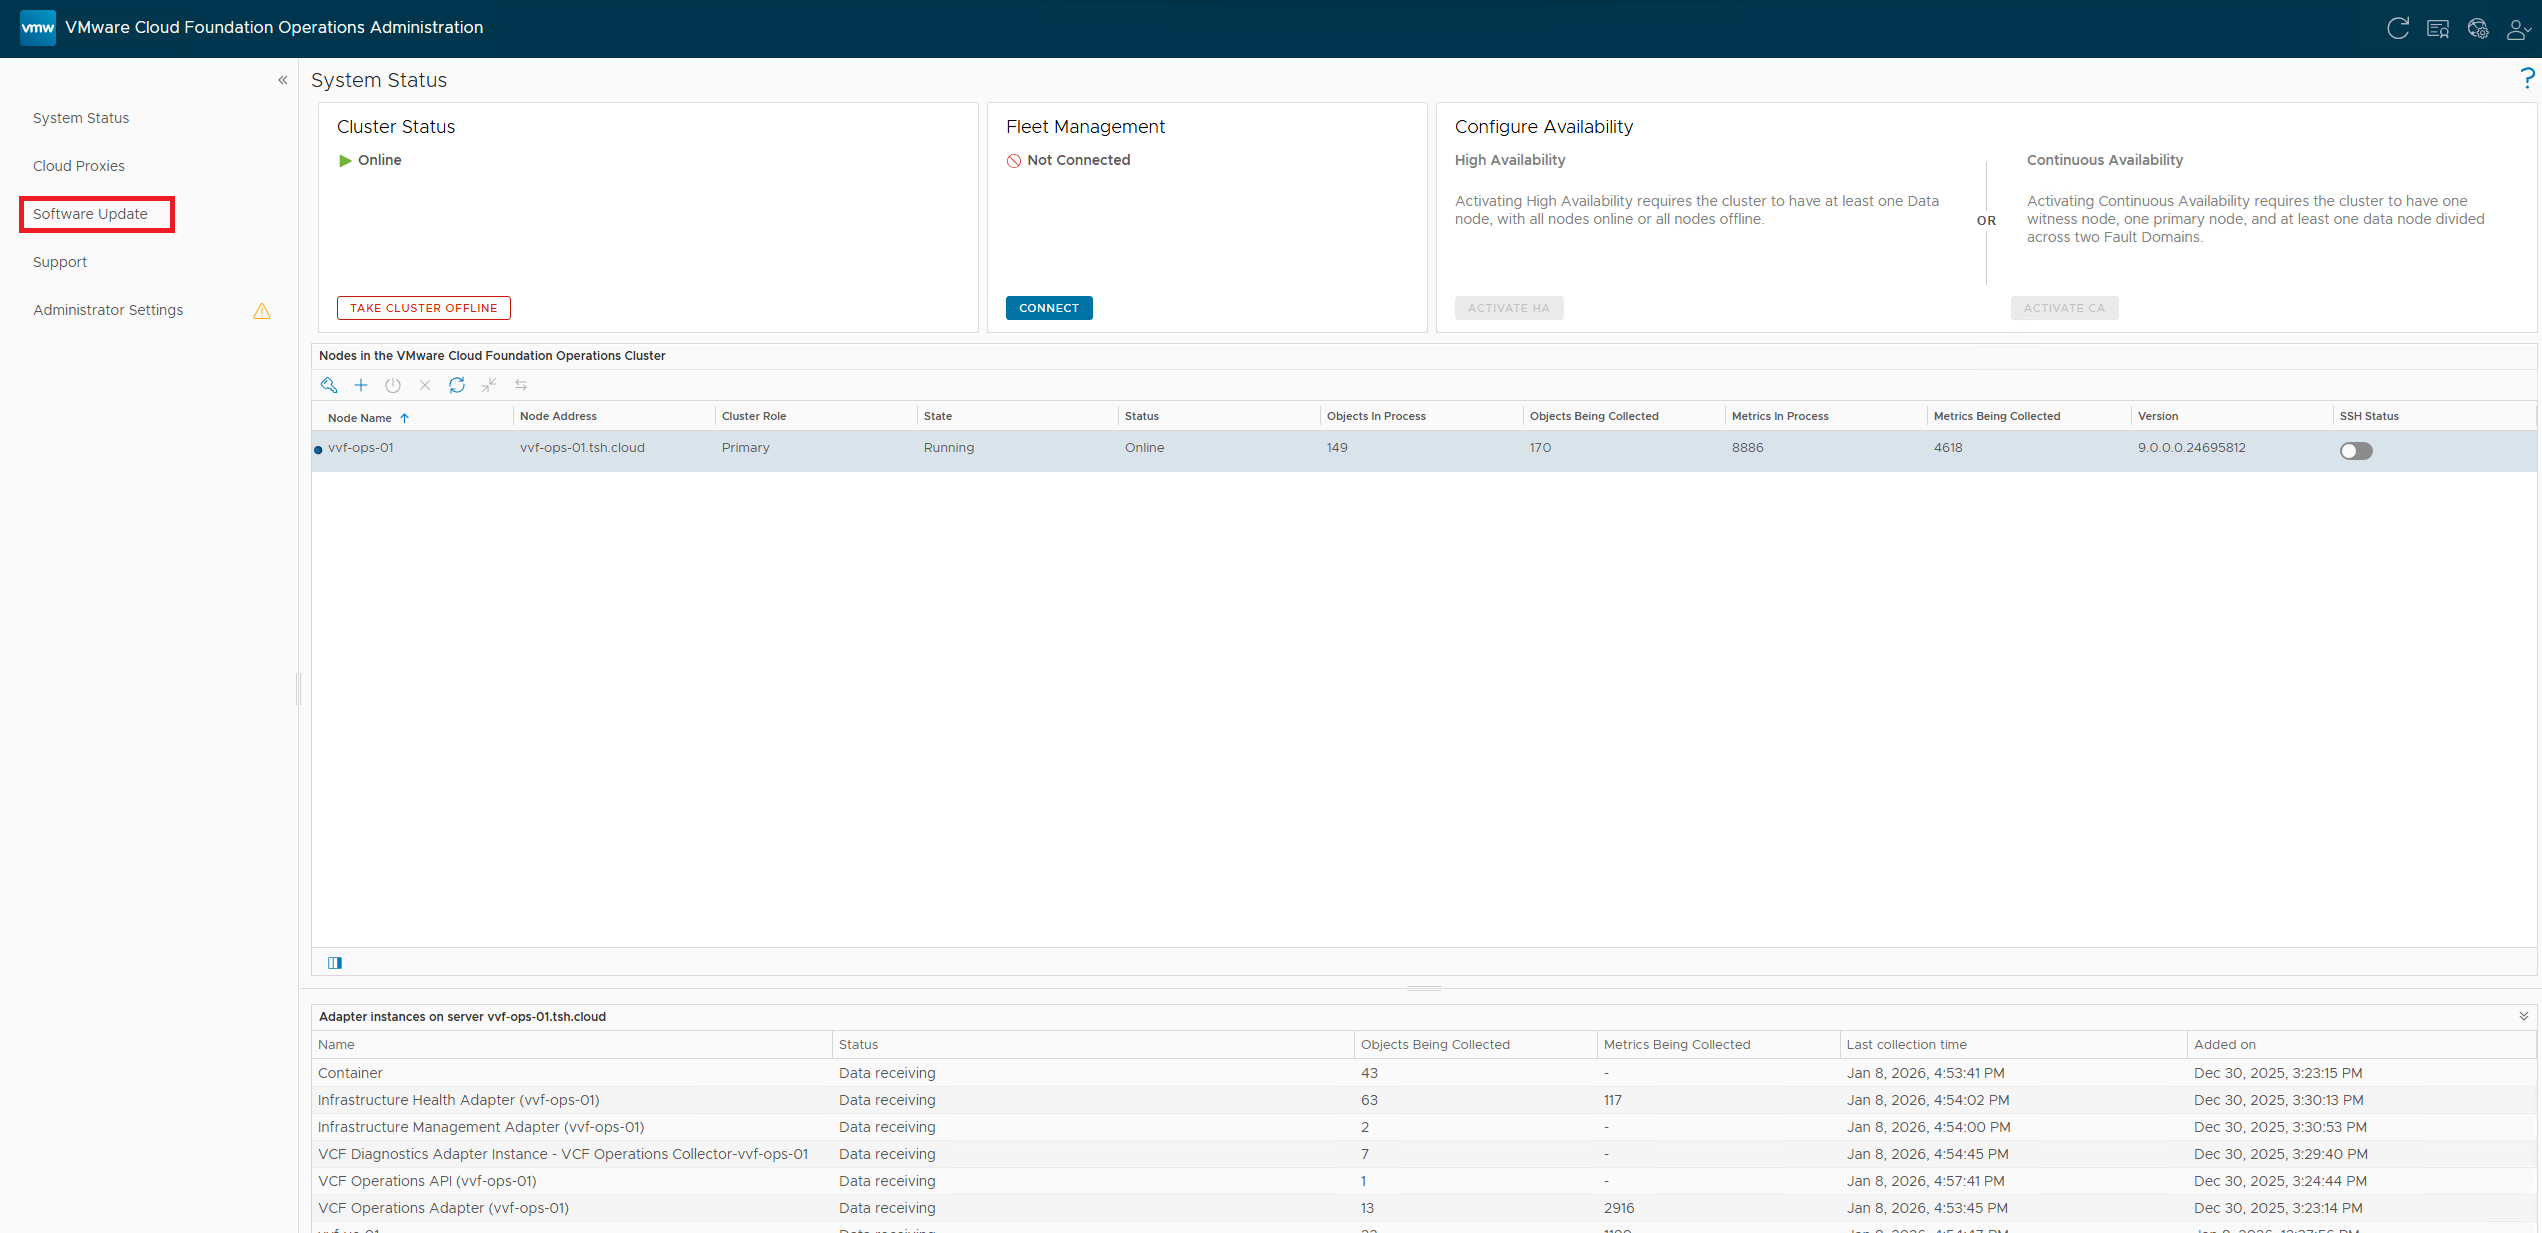
VCF Operations
Open a browser session and navigate to https://opsinstance/admin and log on with the admin account user name and password

Once logged in in the left hand pane navigate to Software Updates and click on it
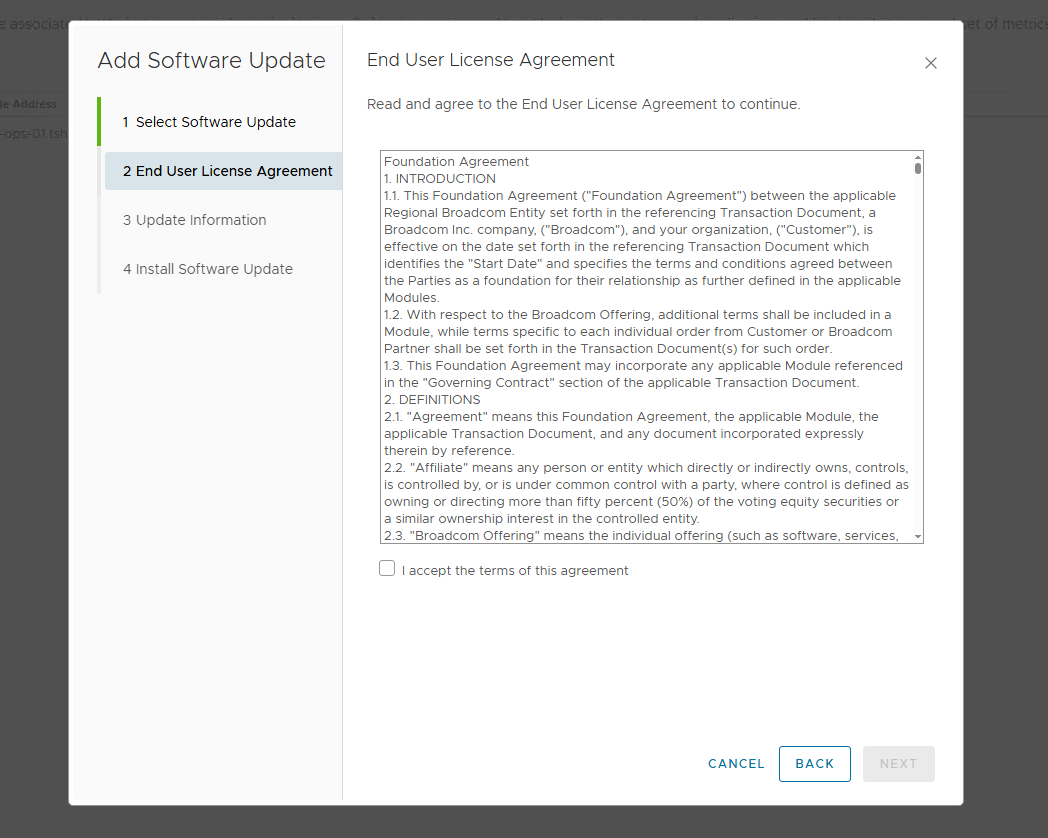
Click on the Install a Software Update button

A wizard will launch, click on Browse and navigate to the .PAK file. This will authenticate and then allow you to click on the Upload button

Once the PAK file has uploaded it will confirm It is ready to install, click on Next to continue.

Agree to the License Agreement and click Next
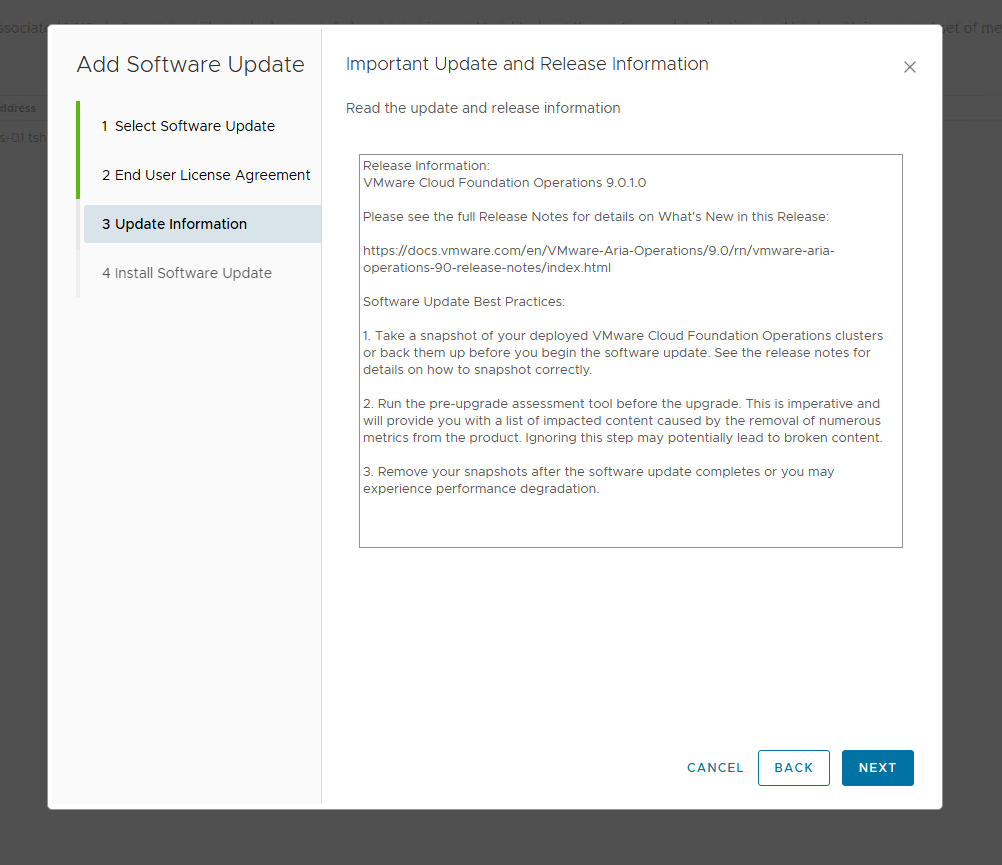
The Release information window reminds you that it is suggested you take the snapshot and run the pre upgrade assessment before proceeding. Click Next to continue
Click Install to start the upgrade

The UI will display some messages on the upgrade but also time out during the process. It will update VCF Operations and also all of its components such as the vSAN connector


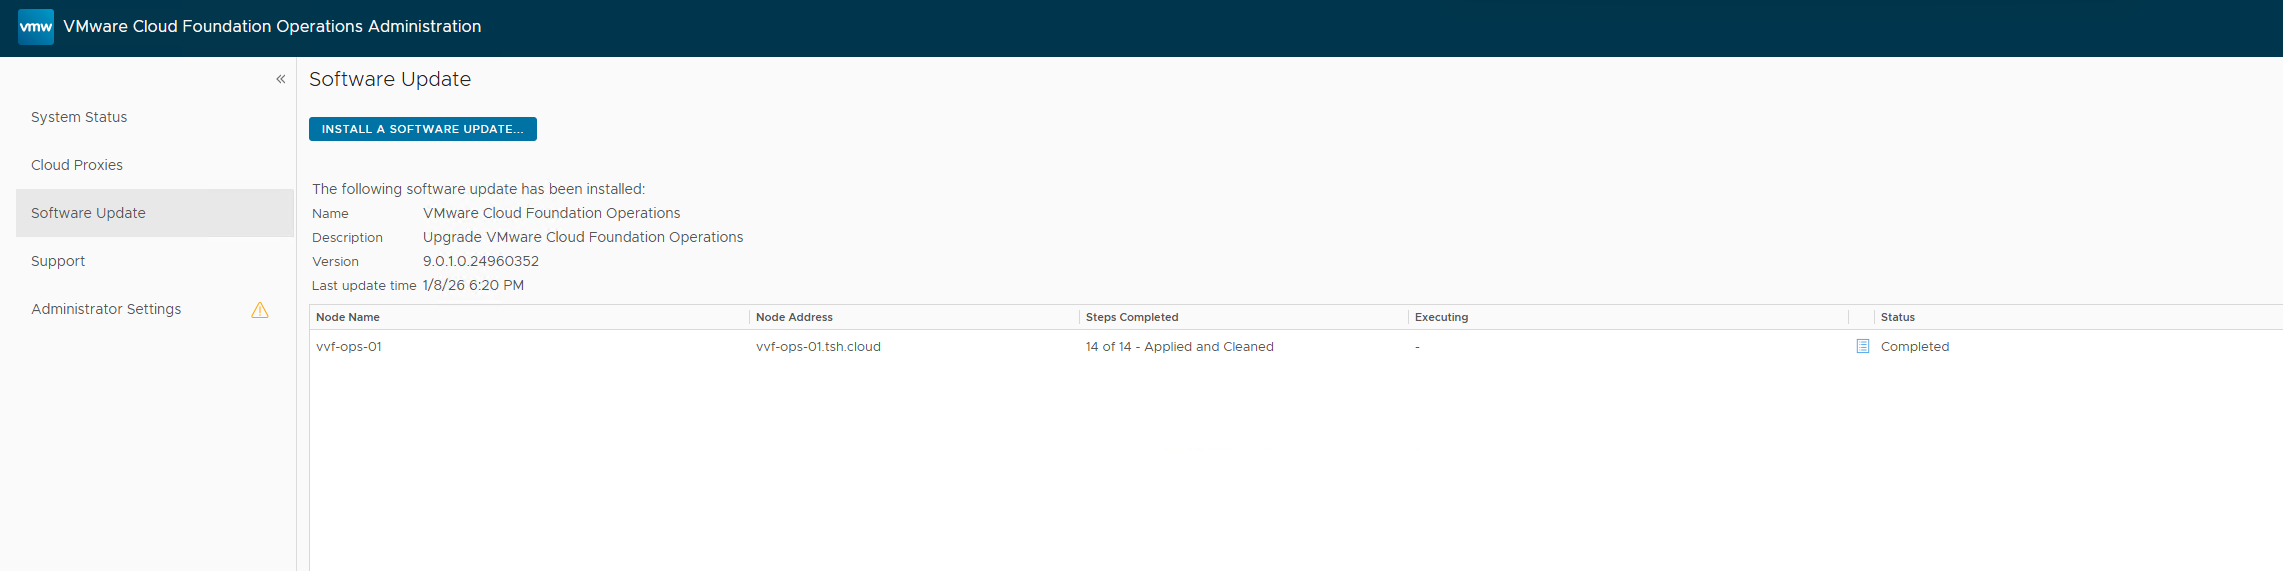
Once complete you will see the following
VCF Operations Logs
Open up a browser and connect to the VCF Operations for Logs. Log in using the Admin account and password
Once logged in using the left hand menu navigate to Management \ Cluster

In the cluster window click on the Upgrade Cluster button

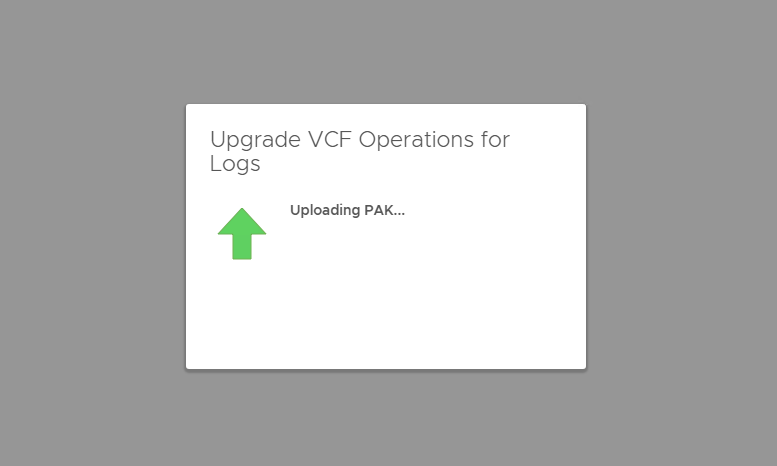
You will be asked to locate the .PAK bundle for the upgrade process. Once selected you will be asked if you want to start the Upgrade and if you have carried out a snapshot

You will be asked to accept the license agreement by clicking Accept

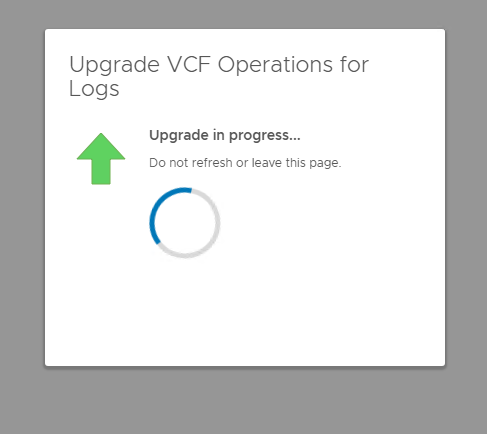
This will start the upgrade process that you can monitor via the browser
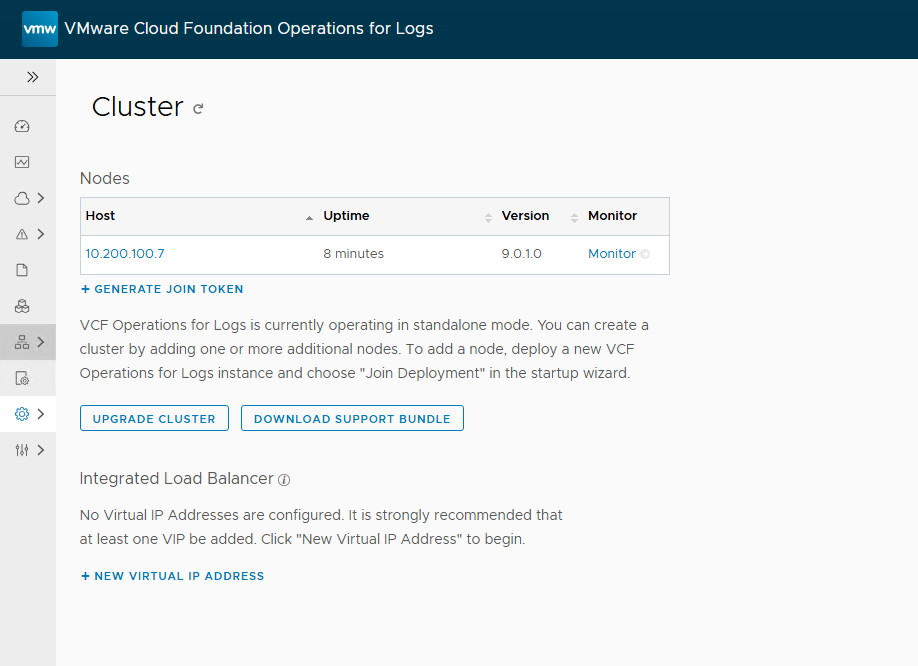
Once complete you will be able to log back onto the UI, navigate to Management \ Cluster and see the new version
Back in vSphere 8 U3 days VMware released a feature that had started in the VMC Cloud offering and then made its way to on premise. The previous way of upgrading a vCenter environment meant that all access went down as soon as you started the upgrade process. This could mean access to vCenter could be down for hours at a time whilst the whole process completed. The new offering is called Reduced Downtime Upgrade and limits the amount of time vCenter is offline. It does this by deploying a second vCenter appliance and copying all the data over before doing a flip over, that means that the service is only offline for a reboot cycle which could be as little as 5 minutes (if you believe the marketing) I will cover both options below
vCenter Offline
To start the upgrade process you will need to download the media from the Broadcom Support portal.
Once you have the media this will need to be uploaded to storage that is accessible by the vCenter appliance. Find a datastore, create a folder and then upload the ISO to this location. Please note you might get an error when uploading the file due to a certificate issue. If that happens note the ESX server and open a browser to it and accept the certificate, the upload will then be able to be restarted.

Locate the vCenter sever appliance and right click and choose Edit Settings. Navigate to the CD Drive and choose Datastore file and browse to find the folder and file you uploaded in the previous step. Make sure it is set to connected.


Open a browser and go to https://vcenter:5480 and log on with the root account and password

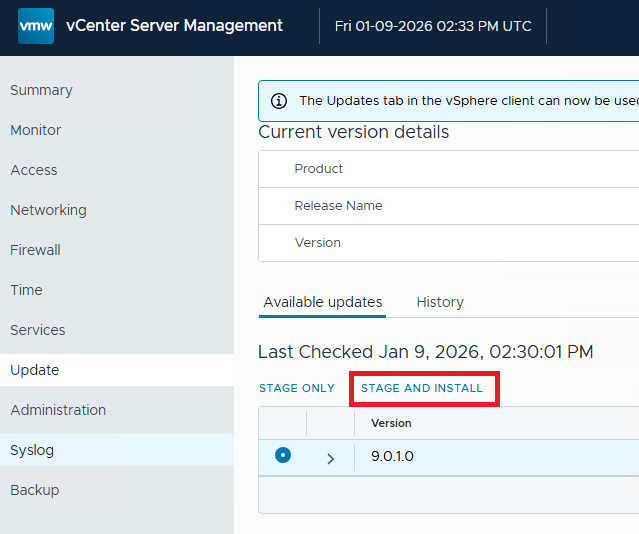
Once you are in the VAMI in the left pane choose Update. Click on Check Updates and from the drop down menu choose Check CD ROM

The screen will refresh and show that there is a 9.0.1.0 update available. Click on the Stage and Install. If you wanted to do the upload but carry out the install at a later date you can click on Stage Only.
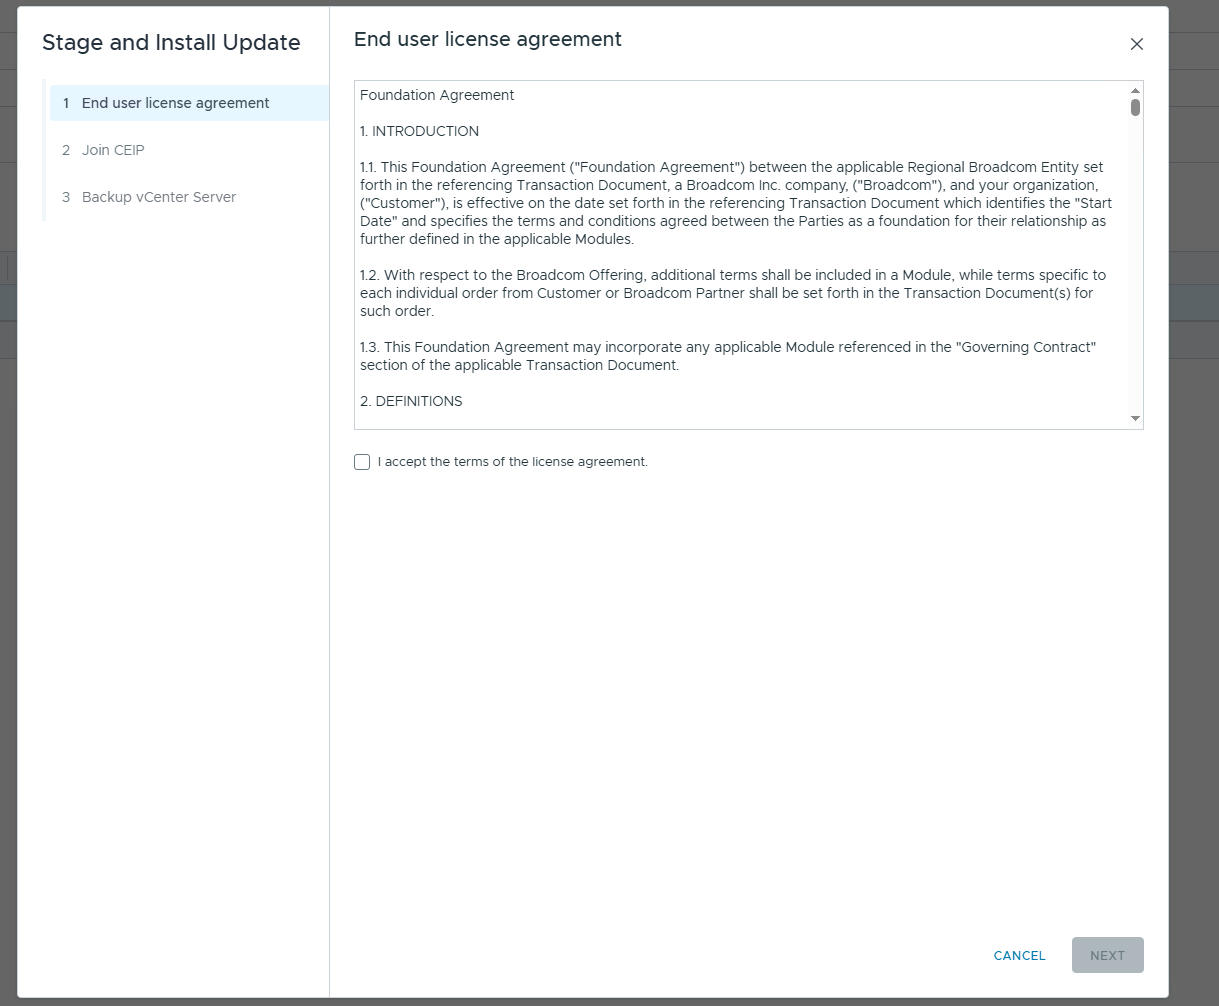
On the license agreement click on Accept and then Next
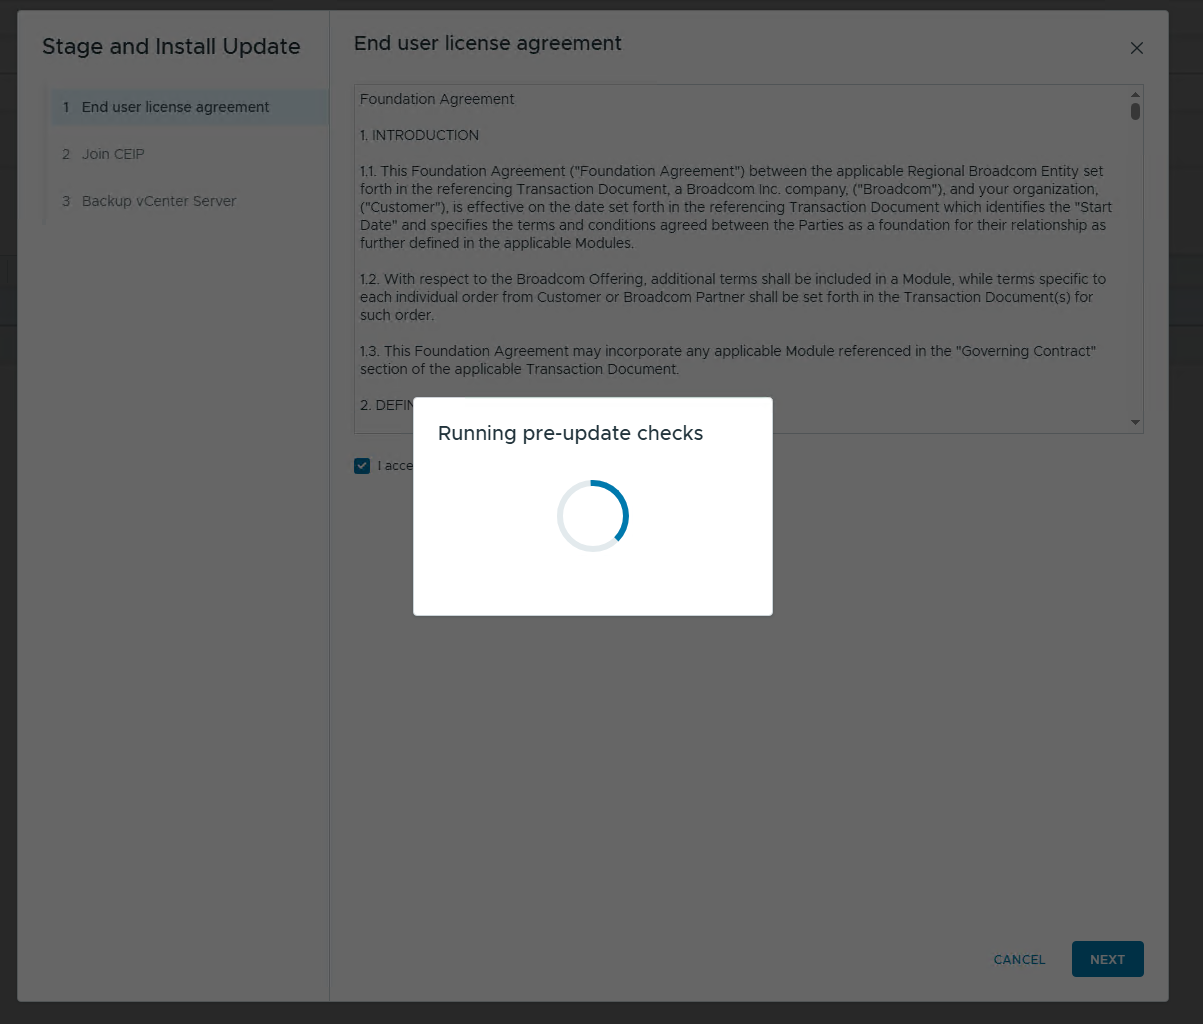
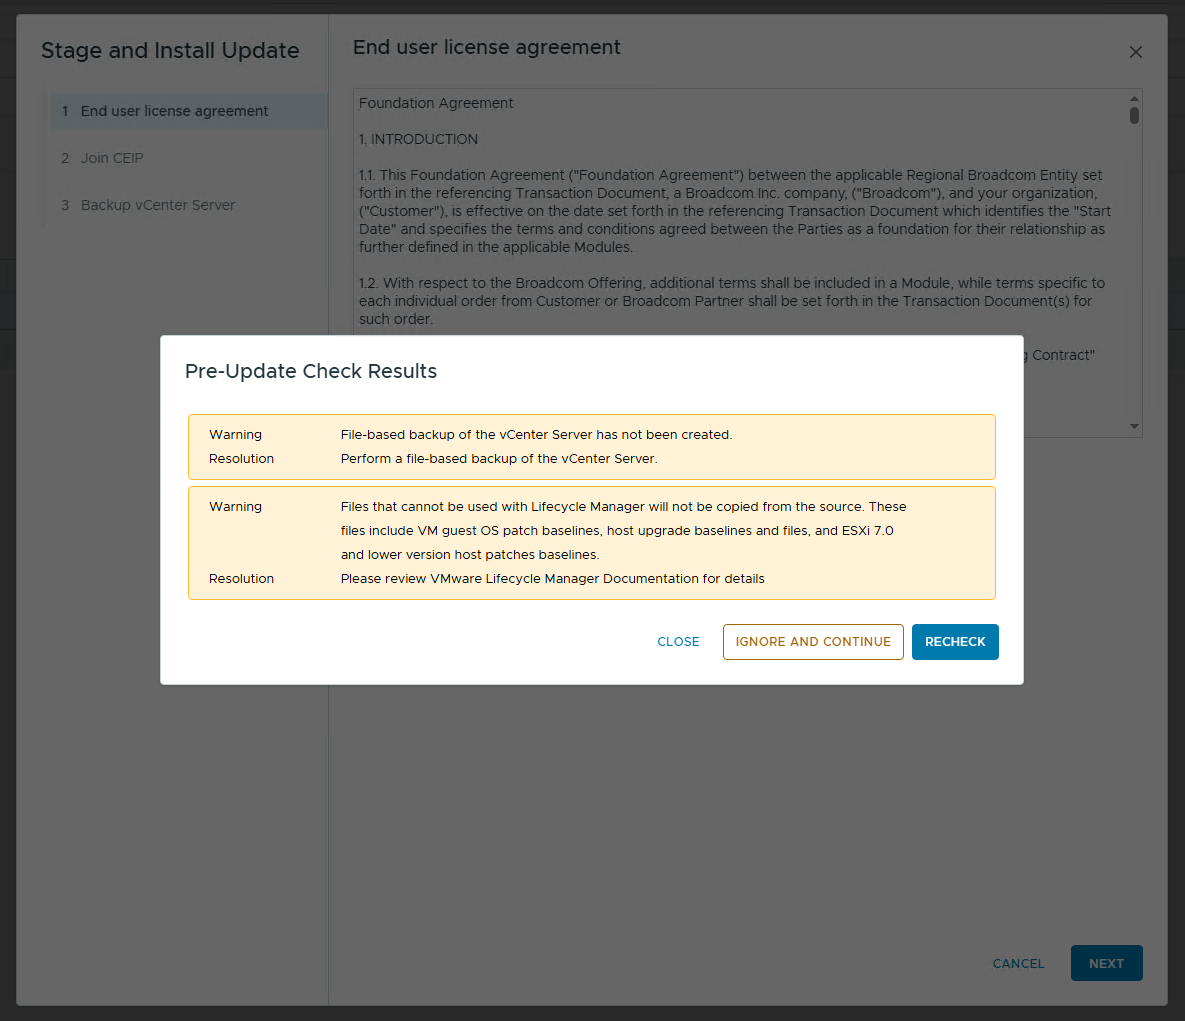
It will run a number of pre checks
As this is a demo environment I have not yet configured all the options, this is caught in the pre checks and gives you the warnings and opportunity to make changes before proceeding. In this environment I clicked on Ignore and Continue
Decide if you want to enrol in CEIP or not, click Next

vCenter Reduced Downtime
Coming soon
ESX
Coming soon