Having to downgrade a VM’s hardware version or compatibility level is something that comes up now and again. There are many reasons you may need to do this; being it moving a VM to an environment with an older version of vSphere, or having issues following a planned upgrade that you now no longer have a snapshot for.
There are 3 VMware supported ways to downgrade which you can find in this VMware KB - https://kb.vmware.com/s/article/1028019
Let’s take a look at the options.
Revert to a previous snapshot
Now this is only of use if you took a snapshot in the first place… If this is a planned upgrade, I would hope one was taken! However, you could have performed the upgrade and removed the snapshot before discovering the defect which is leading you to return to a lower hardware version.
If you do have an appropriate snapshot, reverting to it is a viable option. You can achieve this by the usual means. Right click the VM, hover over the Snapshot option and either select revert to snapshot, or manage snapshots if you have more than one or aren’t sure.
VMware vCenter Converter
Another option is the VMware vCenter Converter. This is a free tool available from VMware that can perform a number of conversion tasks. One of these is the ability to copy the original VM to ‘another’ but allowing changes to the VM ‘hardware’ such as the hardware version, disk sizes, disk provisioning (Thick or Thin), CPU and memory changes and much more. (more info here —-). You also get the option to power off the original and power on the new as it completes. This method reduces downtime but can be heavy going with high IO machines , in fact I wouldn’t do it with high IO machines.
Once your conversion is complete, you can then delete original. This is a great option with a simple to follow wizard, however it can take a fair amount of time to complete depending on the size of the VM.
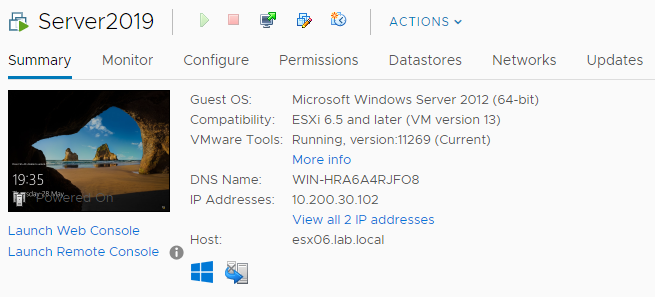
Original VM, Hardware Version 14.

During the conversion you will need to have either renamed the original VM inventory name, or use a temporary name during the conversion, which, you can return to the original name once you delete the original.

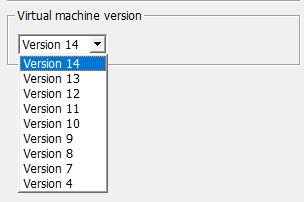
You have the option to select any hardware version

Now power off, rename back to the original name and perform a storage vMotion to rename the files on the datastore.
Detaching and Re-Attaching the disks.
This is my personal preferred method! If I only need to modify the VM hardware version, this is my go to. This involves creating a new VM with no hard disks and then attaching the disks from the original VM. This approach is particularly useful when your VM has large disks. Lets go through the process.
Create a New Virtual Machine giving it a temporary name, the required hardware version, and matching CPU, memory, SCSI controllers and network adapters. One additional setting you will need to take care with is that you match the Firmware option. Don’t worry about adding any hard disks. NB: If you have any dependencies for the original MAC addresses, if you take this route, you will need to note them and manually assign them to the new adapaters.
Now, ensure you have a backup, as you should do before any work, and take a snapshot the original VM to give you a fast rollback should you need it (quiesce the memory if you so wish). Power off the VM and rename it,
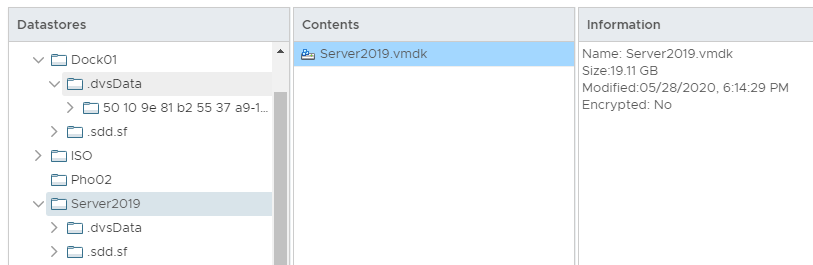
Edit the VM settings and note the location of the disk(s).

Detach the hard disk(s), ensuring NOT to tick the option to delete from datastore (that will ruin your day…)

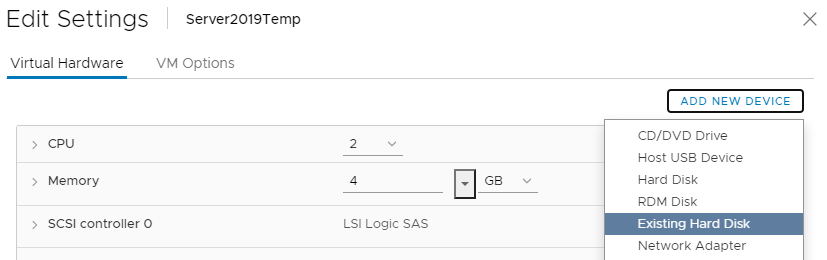
Now edit the new VM settings and attach an existing disk
Browse to the disk(s) location and attach the disks starting with the OS disk first.
Power on and you have now downgraded the hardware version. If you are using static IP addresses, be prepeared to reassign these.
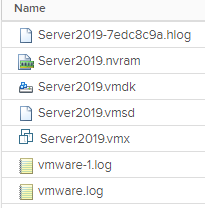
So we now have a bit of cleaning up to do… The inventory name is incorrect and the disks aren’t stored with the VM.
You now need to power the VM off, rename it to the original name and perform a storage vMotion to rename and move all the VM files and disks into a single folder on the datastore.


When conducting any change, always ensure you have a backup and a valid rollback should something not go as planned!
Thanks for reading.